


So you want to learn how to make your own shipping create, eh? DIY shipping crates are totally possible and something I’ve needed to do for a long time. I needed to build a shipping crate so that I could ship a 4’x6’ painting across the country. It’s not safe to ship large paintings or works of art at this size in a cardboard box. The risk for damage and warping is too high to be shipped in a cardboard box.
Paintings of this size must be shipped via freight. I’ve shipped via freight in the past, but freight shippers add an additional $500 on to the packaging fee for packaging materials and crate construction. Making my own crate is a skill I’ve wanted to have for a long time and I was able to build and package my own crate for $300 of supplies.
Due to the size of the painting 48”x72”x2” I needed the crate to have an additional space around the piece for bubble wrap and Styrofoam. The box that I needed to build was 60”x82”x”6”.
With these dimensions in mind these were the supplies I needed:
- 4 – sheets of plywood at a 48”x80” size. (48” wide sheets were the only size available at my local hardware stores, additionally I didn’t have a way to transport sheets that were wider, but since my box needed to be 60” wide, I had to get 4 sheets and cut them into 60”x41” inch sheets.) (I got these at Lowes).
- 5 – wood boards 2”x6”x80” (I got these at Lowes)
- Wood glue
- Screws
- Electric saw
- Drill
- 5 – sheets of Styrofoam board, 1”x24”x96” (I got these at Home Depot)
- 2 – extra-large roll of bubble wrap
- 1 – roll of strapping tape
- Several packs of Silica gel beads
- Glassine acid free archival paper
- Plastic wrap
- Cut your boards.
Depending on the size of the crate you need your dimensions might be different than mine. The first thing I did was use a saw to cut my plywood into four boards at a 60”x41” size. - Cut your side boards.
These are 2”x6”x96” boards I needed two that were 78” and four that were 60” - Assemble the Frame.
I’m calling the thicker side boards my frame. I screwed the two 78” boards to two of the 60” boards with the 60” boards on the outside so the total measurement of the frame was 60”x82.” Make sure your corners are square as you are screwing them in. - Assemble The Plywood Sides.
I screwed two 60”x41” sheets together in the middle with one of my 2”x6”x60” boards down the middle to hold them together. Wood glue was applied to the middle board then the sheets of plywood were screwed on top. All three pieces were then screwed together. You can do both sides of the crate at this time. 4 pieces of plywood, 2 middle support/joining boards = two sides of the crate.
- Package your painting.
While your wood glue is drying on these side panels now is a good time to package your painting. To learn how to properly pack the painting before you put it in the box jump to the next section on Packing Your Painting. - Make your base.
Now that you have all of your sides, cut, glued and screwed its time to and assemble them. You should have three pieces at this point, the 60”x82”x2” frame, and the two 60”x82” plywood sides of the box. Take one of your plywood sides and screw it to the frame. - Place your Styrofoam.
In the bottom of your box place one layer of your Styrofoam sheet. The sheets I got were 24”x96”x1” I needed two and a half sheets for one layer in the bottom of my box. Make sure to save the excess length cut off from the 96.” You’ll need those 14” for padding the corners of your piece. - Place your Wrapped Painting in the box.
Your painting should be wrapped in acid free archival paper, plastic wrap, and at least three layers of bubble wrap and strapping tape already. See below section on those steps. - Protect your corners.
Inside the box I now have about 3-4 inches on all sides of my piece due to bubble wrapping. Use the Styrofoam you saved aside to create corner bumpers for the painting. These should be glued together and glued to the Styrofoam base. These corners should be tight. To insure your piece isn’t bumping around in the box. Place extra Styrofoam on the sides of the piece to keep it tight. - Place The next full layer of Styrofoam on top of your painting.
This is the padding in between your painting and the top sheet of plywood. Place this down and make sure it’s nice and snug. - Screw in your top sheet of plywood.
Everything is safe and sound on the inside of your box. Once you have your painting tight and secure in the box, screw in the top sheet of plywood on top of the frame. And Voila! A coffin for a painting.
Packing Your Painting:
- Archival Paper.
The first step is to wrap your piece in acid free archival paper. It’s important that this is the layer that is touching your piece because it will ensure that even if humidity, causes the paper to stick to the painting, your painting won’t get damaged because the paper is acid free and there will be no transference of chemicals or bleach onto your painting. - Silica Gel Packs.
You know those little moisture, dehumidifying packets? Slip a handful of those in behind the archival paper. This will also help keep your piece dry and free from moisture damage or warping. - Plastic Wrap.
Wrap your piece in plastic wrap. I use moving grade plastic wrap this should keep moisture, bugs, whatever… out of your packing. Wrap it nice and tight. - Cardboard your Corners.
Once you have your plastic wrap on, construct cardboard corner protectors. The corners of a painting are often the places that get damaged or warped most easily, so protecting them is key. - Bubble Wrap.
Never enough bubble wrap, friends. I wrap my pieces three times in bubble wrap alternating directions each time. Wrap it vertically, horizontally, vertically. - Strapping tape.
Now that you have it all bubble wrapped up, make sure everything stays in place with several cross sections of strapping tape. - Put it in the Box!
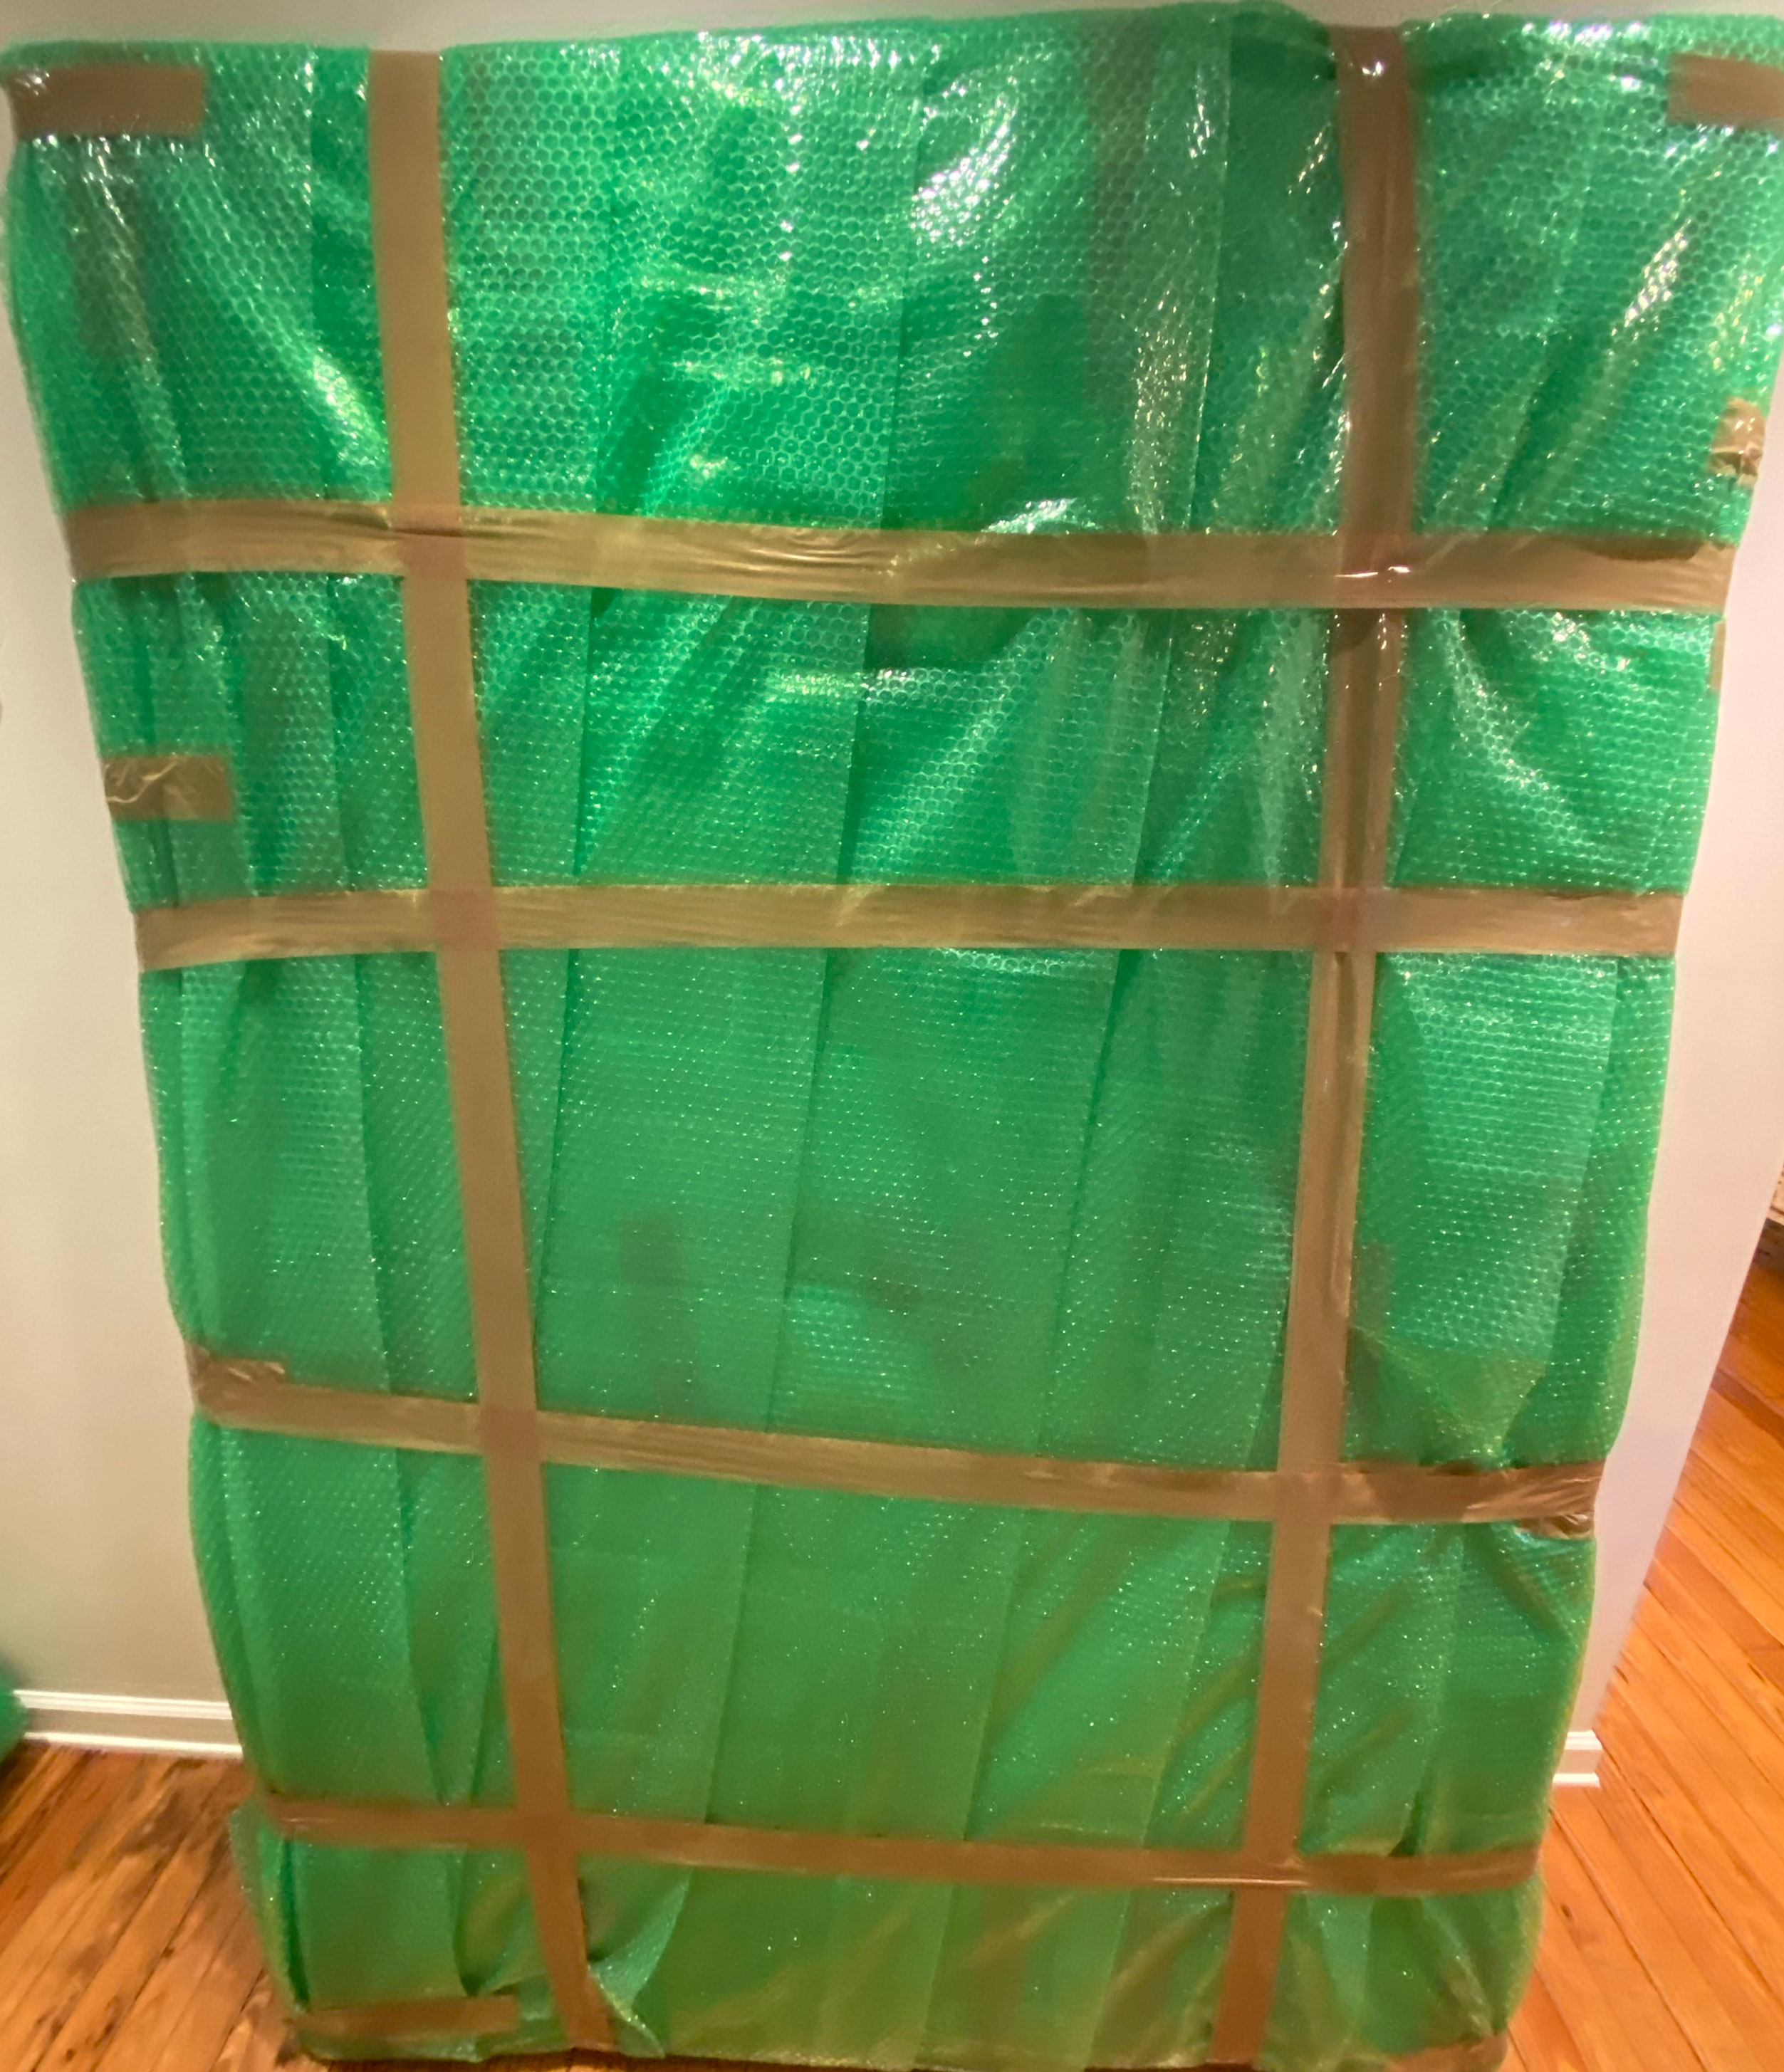 The piece fully wrapped in archival paper, plastic wrap, cardboard reinforced corners, three layers of bubble wrap and strapped up tight with tape.
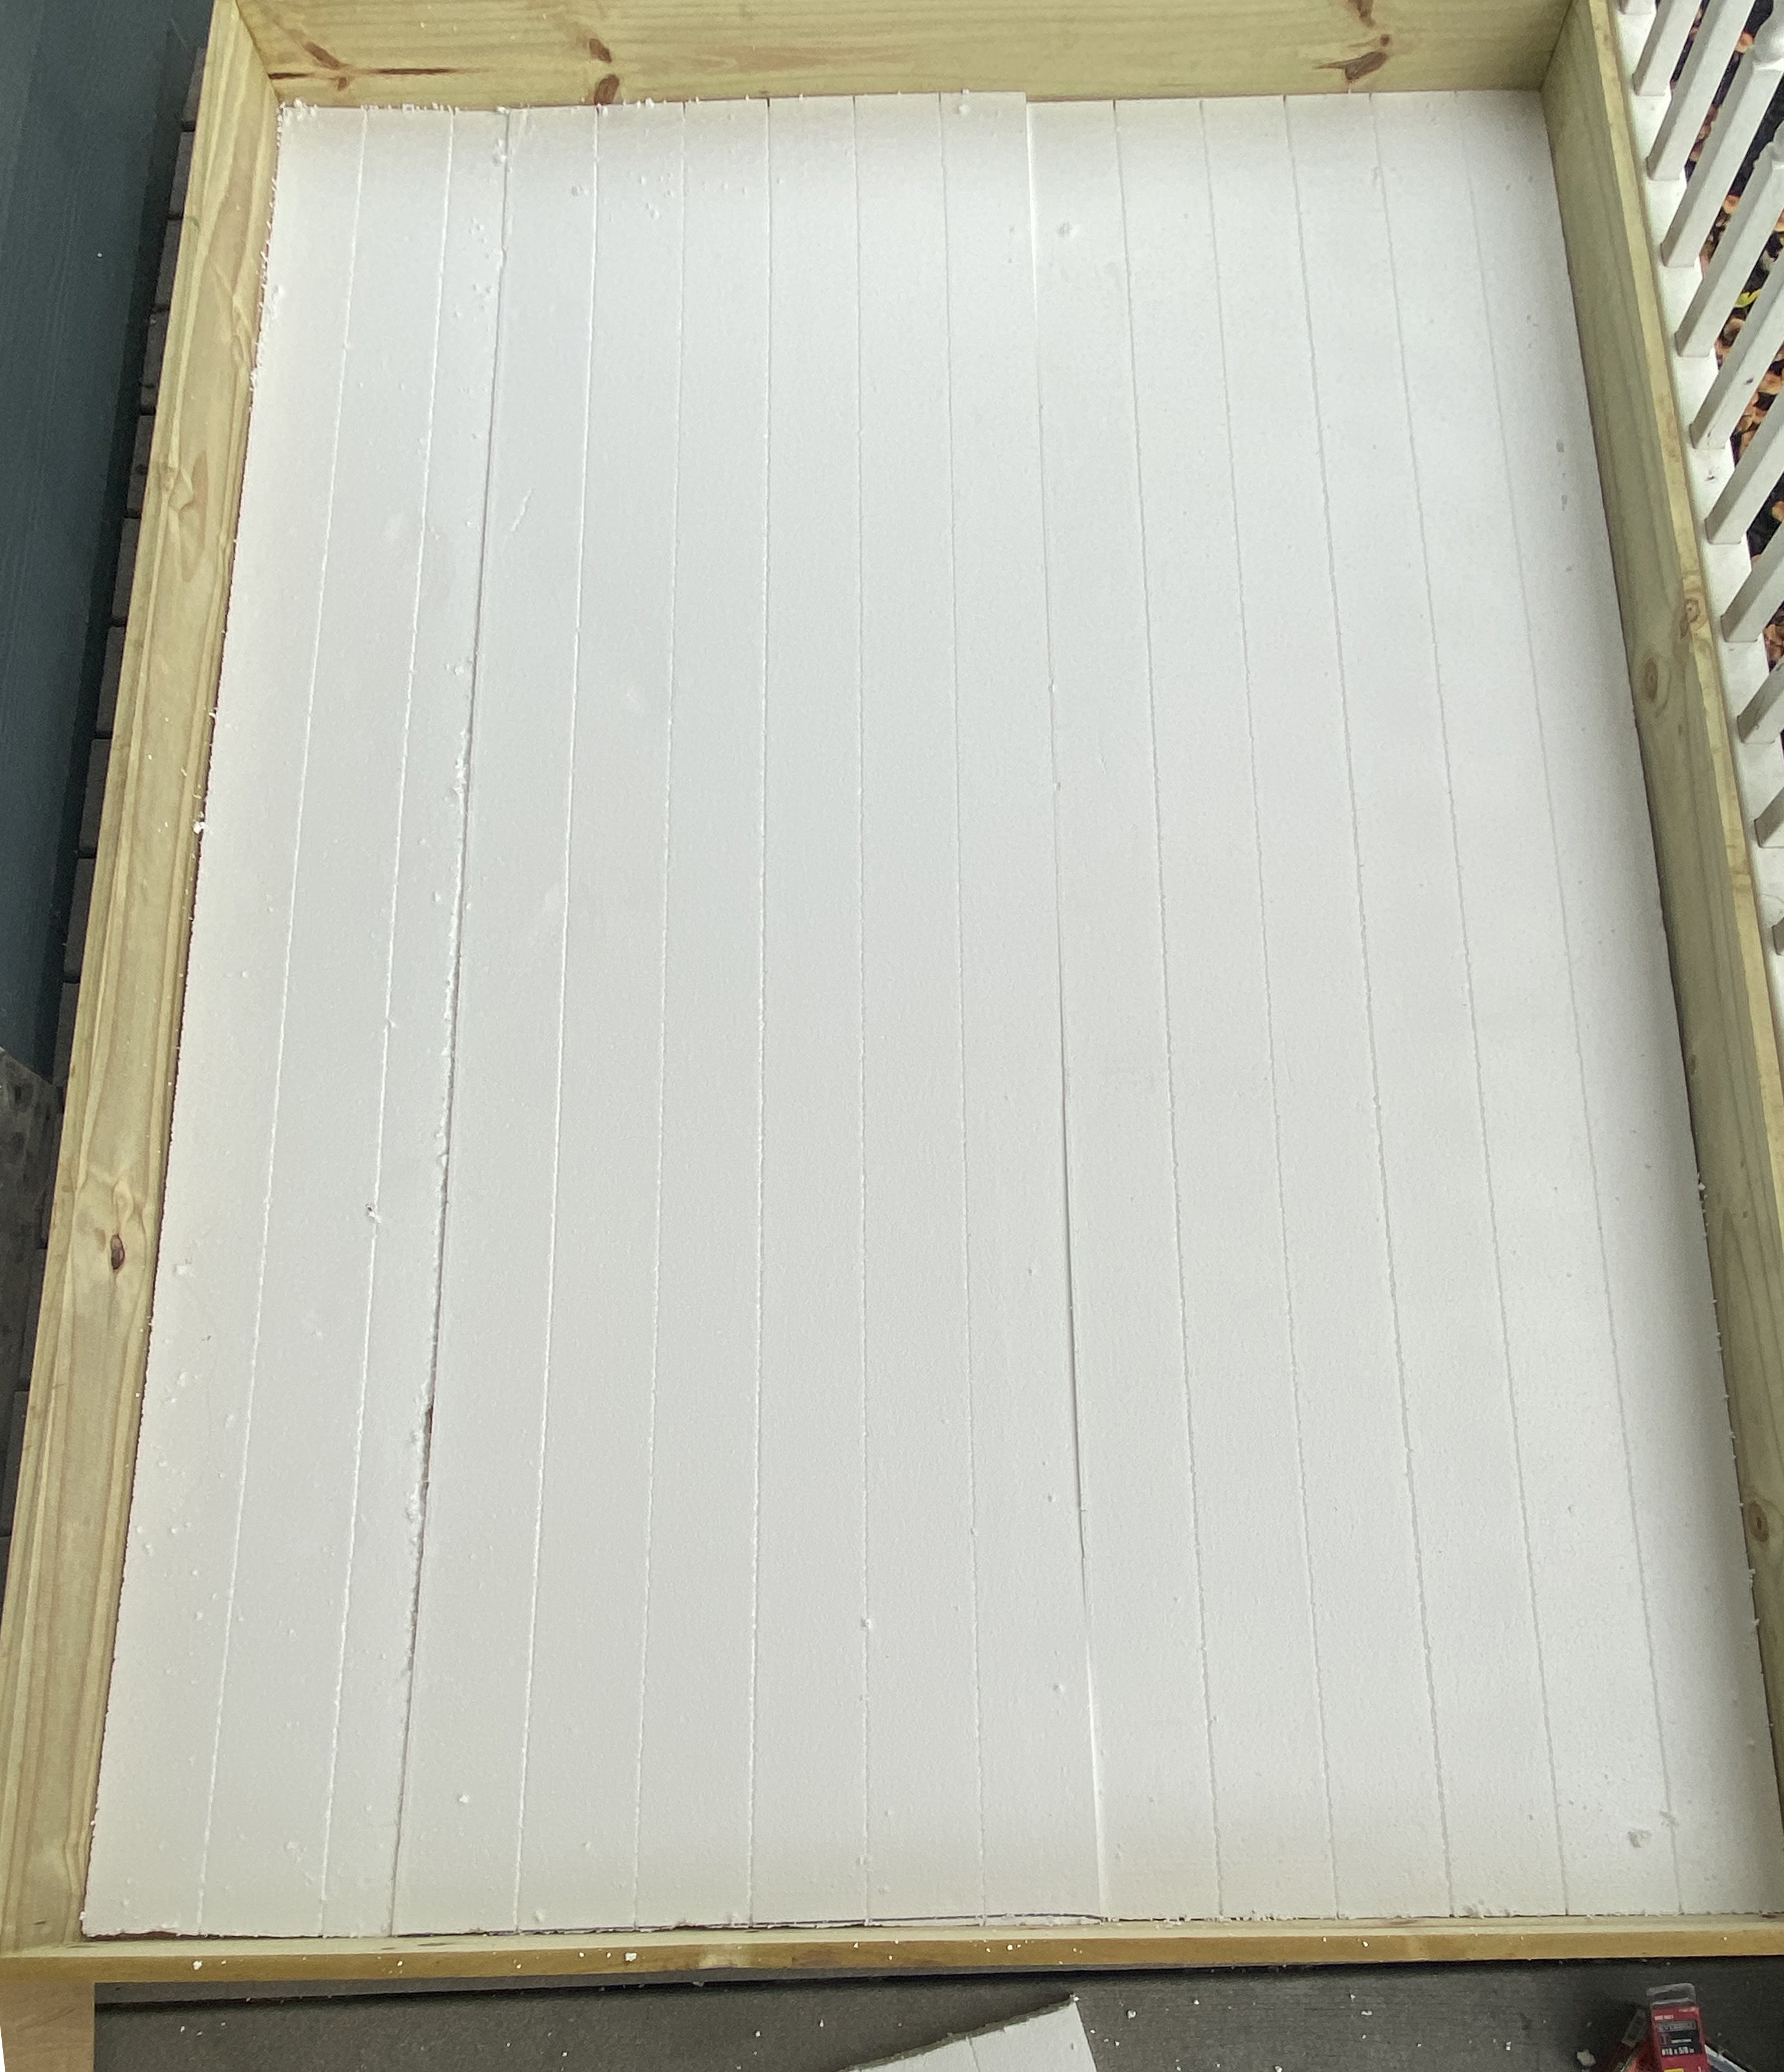 This is the bottom of the piece with the first layer of styrofoam. At this stage the bottom and sides of the box are screwed together and the styrofoam is taped to the bottom.
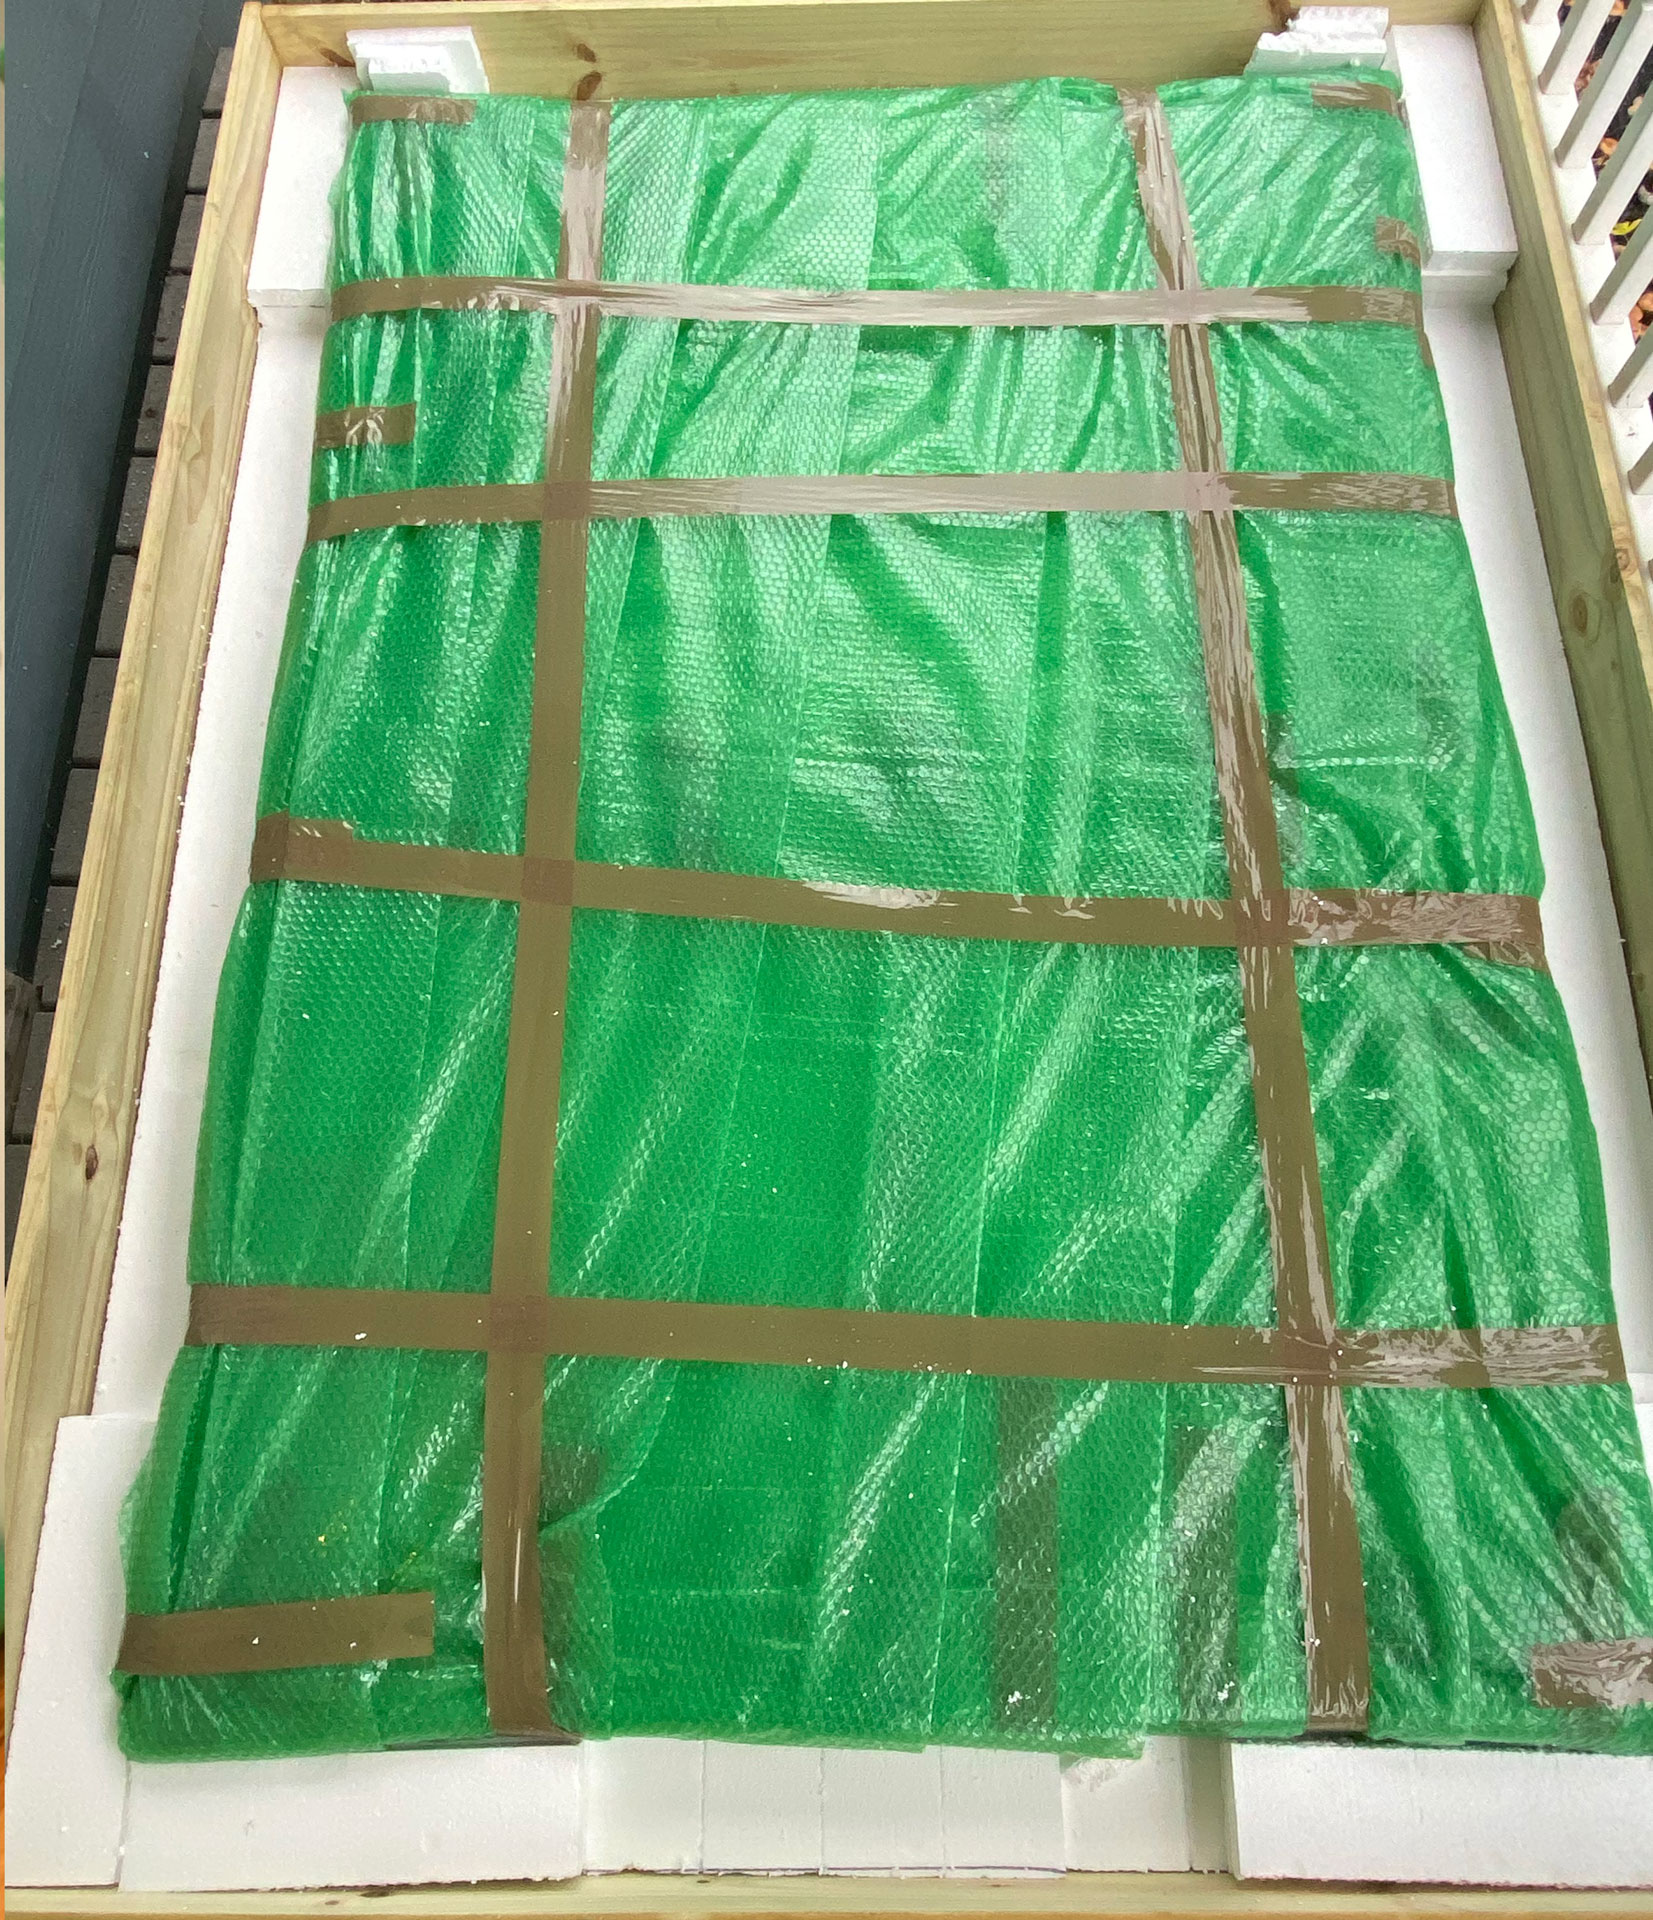 Here the piece is laid in the crate and is padded with tight styrofoam corners to ensure it doesn’t move around during travel.
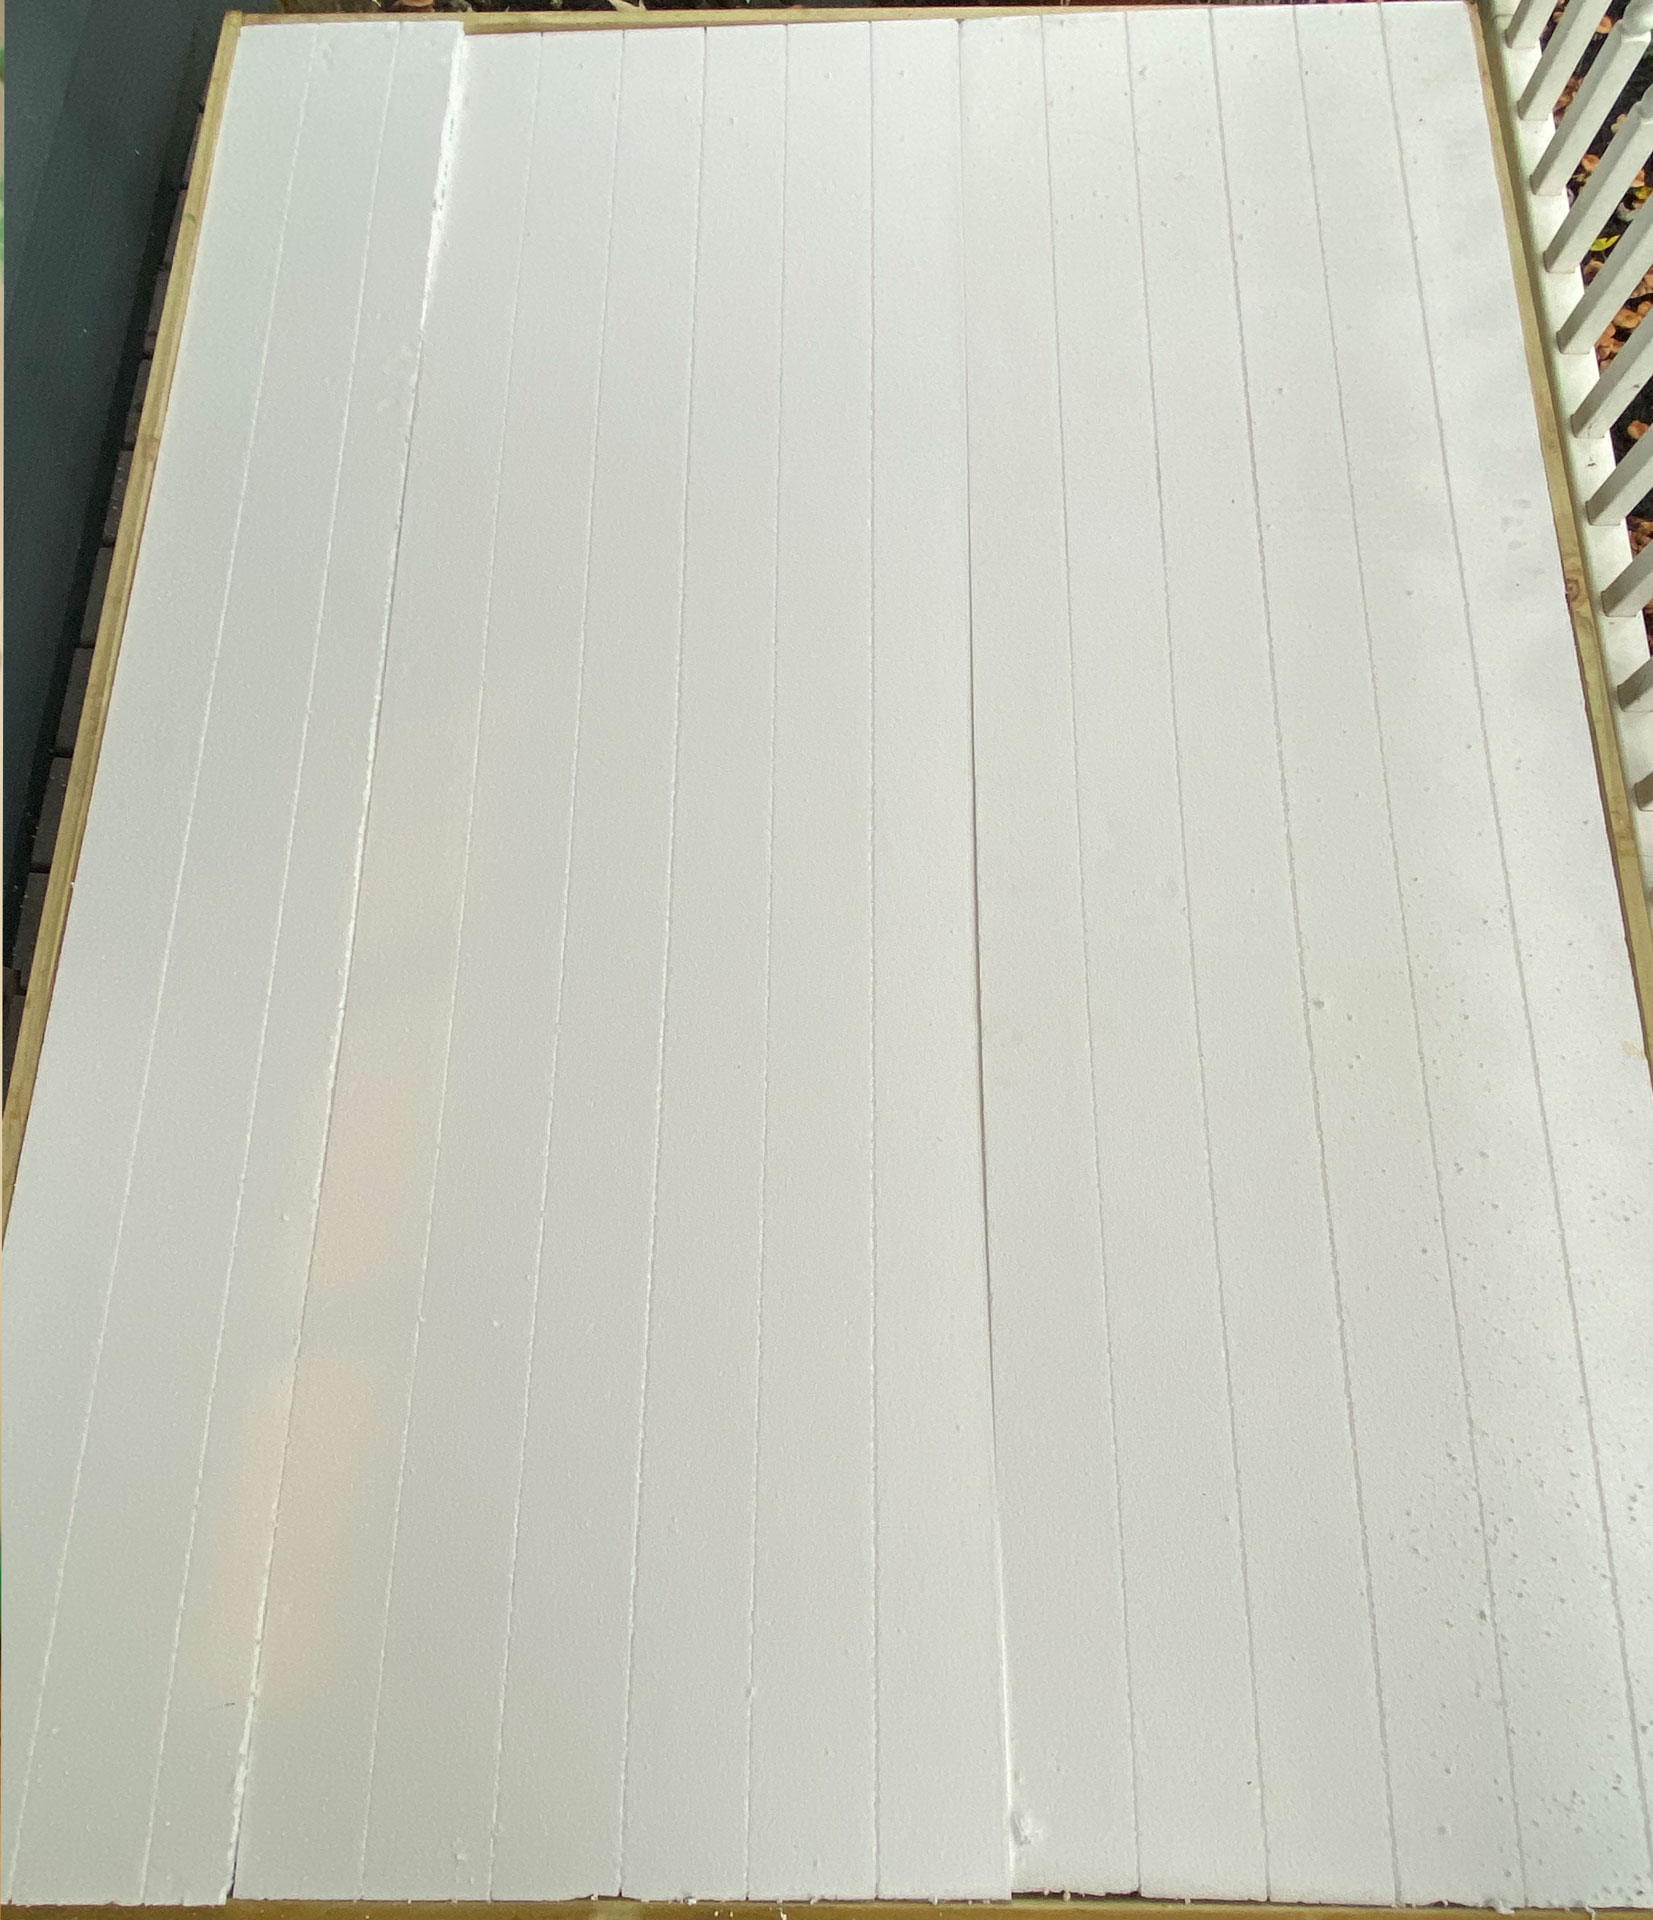 The piece is tucked in safely and right within the box. Now it’s time to put the styrofoam layer in before sealing up the top layer of plywood.
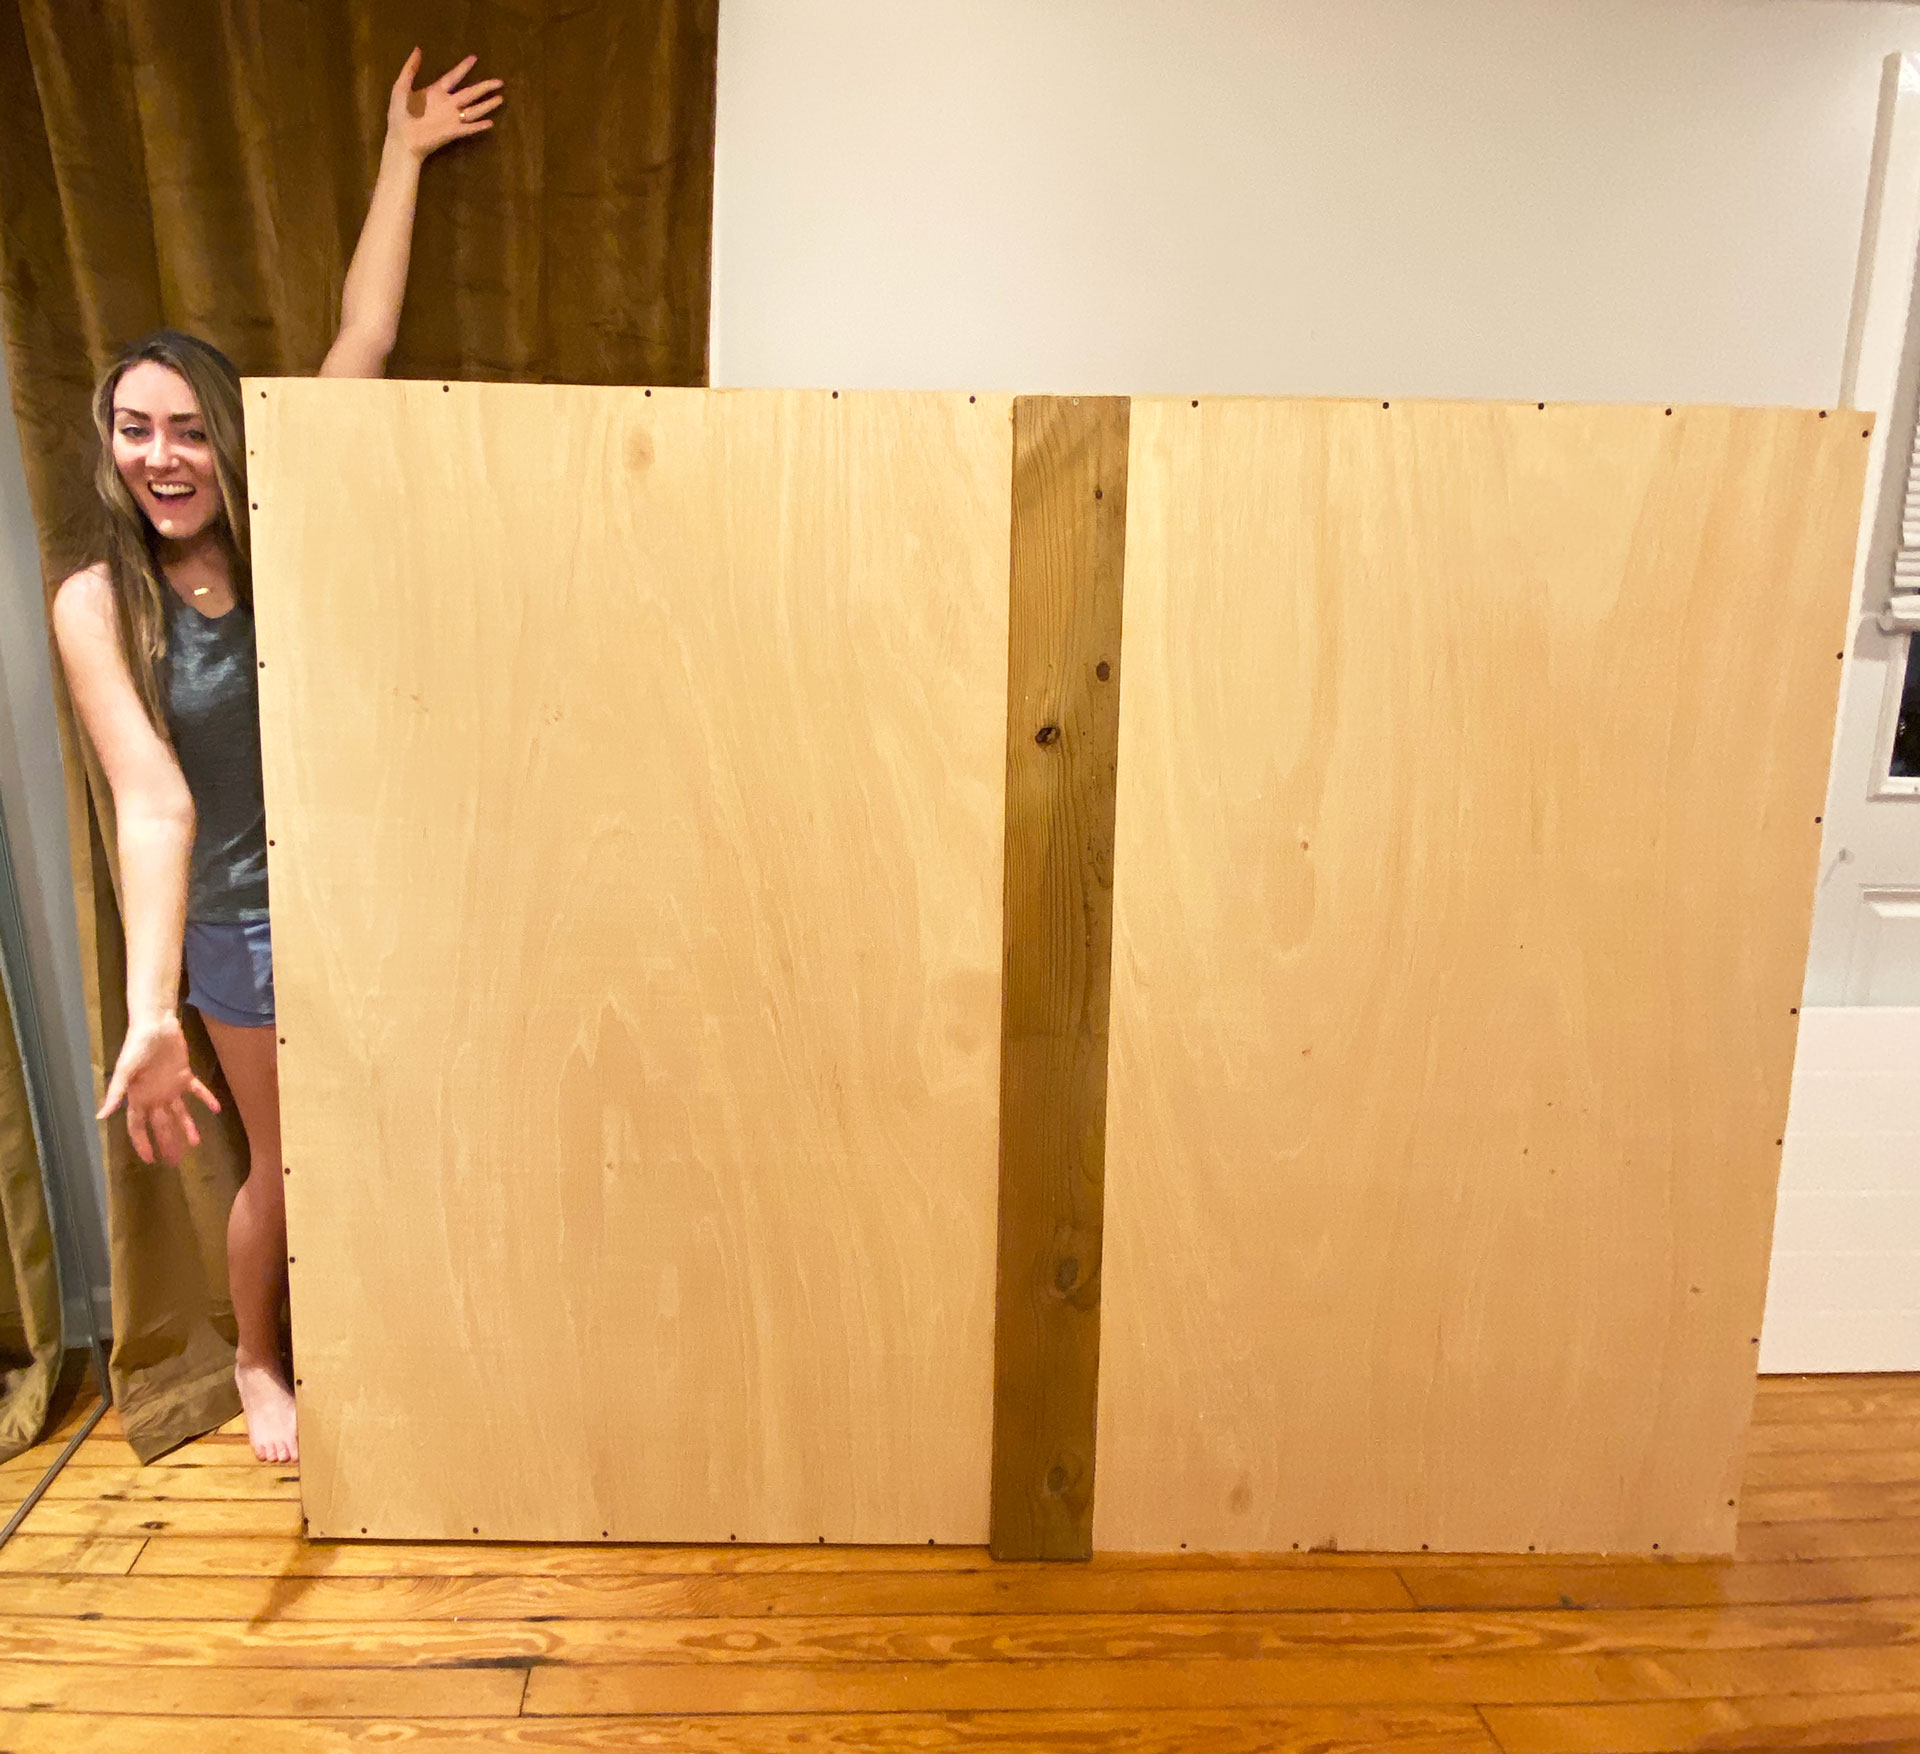 Voilla! completely sealed up and secured ready for freight shipping.
AND IT’S JUST THAT EASY! Honestly, it was easier than I was anticipating. I always pack my own paintings, but usually I’m putting them in a cardboard box, or taking them to a freight company to be shipping. The whole process from gathering materials, to getting it out the door took me a total of probably six hours. That was with the assistance of my husband helping me cut my plywood sheets. But for the amount of time it took, and how hard it is to find a local crating company it was worth it and easier that I thought it would be to crate my own painting.
The finished crate was 60”x82” and weighed 146 pounds. And because I know I’m going to get ask this question over and over I will tell you how much the whole shipment cost. I was shipping this freight from Northern Virginia to Northern California, my crate materials cost me $334 and the freight company charged $1764 for a fully insured delivery for a grand total of $2098 to ship the piece. This is not including the cost of the painting and the time and materials it took to create the piece.
Shipping is the worst part of my job, but I’m trying to get better at it. Hopefully this sheds more light into a big part of my studio practice and expenses. Let me know if you have any questions about the packing process or shipping large works!
If you learned something in this post, please share it with your friend or another artist! Follow me on Instagram @christineolmstead Pinterest @christineolmstead Facebook @ceolmstead
This post may contain affiliate links. I may receive commissions for purchases made through links in this post. As an Amazon Associate I earn from qualifying purchases.
Comments
Christine,
I’m in Maryland and having similar issues with crating ad shipping my paintings. My work ranges in size from 36″ x 72″, to 72″ x 92″. I build my own crates but use a different style of packing, since the paint I am using is very sensitive to touch. I have to cover it with a sheet of soft terry cloth.
I am exploring different ways to ship, aside from FedEx, UPS, etc. I have been contacting freight companies and I’m getting quotes in the “under $400” range. I hate shipping artwork to galleries for a show, and I rally hate it when the work comes back. And I have to pay the freight to have it returned…
I am looking into independent insurance agents, so I am not tied to the freight companies insurance rates (which are generally higher).
Let’s keep in touch and I’ll share what I learn.
Doug
Hi Doug,
Thanks for your thoughtful remarks. I’m always looking to improve and streamline my shipping process! I’ve recently started working with Craters and Freighters, I’m enjoying working with them so far. Let me know what you find out!
best,
Christine
Pingback: How To Pack Acrylic Paintings For Moving - packilicious.com
Hi Christine! I have been following you for a while now, and I wanted to mention a few thoughts. You are packing your work very professionally! Much better than most.
I have been wrapping my paintings in cotton sheets, to protect the surfaces, since I found that bubblepak often left marks on the painting surface. My stretchers are 2″ thick, as I found that this dimension reduced warping. I am also using adjustable corner braces from Dick Blick, normally used for metal stretchers. I have FAR more control with these than with the wooden corner keys. I am also using Z-CLIPS to secure the painting in the crate. Yes, they are a bit pricy, but they work great! I can use the clips to screw the painting to the back of the crate, and the gallery / museum can fold the securing arms back and use the D-rings to hang the work. This way it is impossible for the artwork to move inside the crate.
On the outside of the crate, I attach a plastic shipping envelope with instructions on how to remove the artwork, and I enclose a pair of cotton gloves. Because the painting is attached to the back of the crate, the FRONT of the crate must be removed first.
I was able to set up an account with Parcel Pro to insure the shipments.If you simple put out a call on the internet for truck freight, and if you are not on a tight deadline, you can really get a reduced rate from a shipper that will be in your area. Like a VERY reduced rate! They will not be art shippers, just a freight company, but since your work is perfectly crated, you won’t have to worry. I always attach handles on each end of the crate to make them easier to lift. You MAY have to attach short 2×2’s under the crate, for a fork lift. Ask the freight shipper.
I hope that this is useful to you.