

Not sure where to start on your DIY gallery wall project? Here are some tips to help you get off on the right foot and help you pick the right tools and pieces for your gallery wall!
- Measure Twice, Order Once
First, figure out the size of the wall you are planning on hanging on. This is my favorite locking measuring tape to help me measure wall space. Questions to ask yourself are:
– Is it above any furniture, or is it a whole plank wall?
– What is the total area of the space that I want for my gallery wall?
– Do I want the gallery wall to extend past the furniture, or stay within the measurements of the couch/table below? - Symmetric or Asymmetric?
So you know the total wall space you want to use for your gallery wall. Might be a nice big space, but how do you know how many pieces of art to put on your gallery wall? Here are some general rules of thumb to consider before making any purchases. First decide if you are going to a symmetric or asymmetric gallery wall. In the image below the asymmetric room is on the left and the symmetric images is on the right. The gallery wall on the right could be cut in half and have the same dimensions on both sides. If you would cut the gallery wall in half on the left image, there would more space above or below the gallery wall depending on what side you looked at.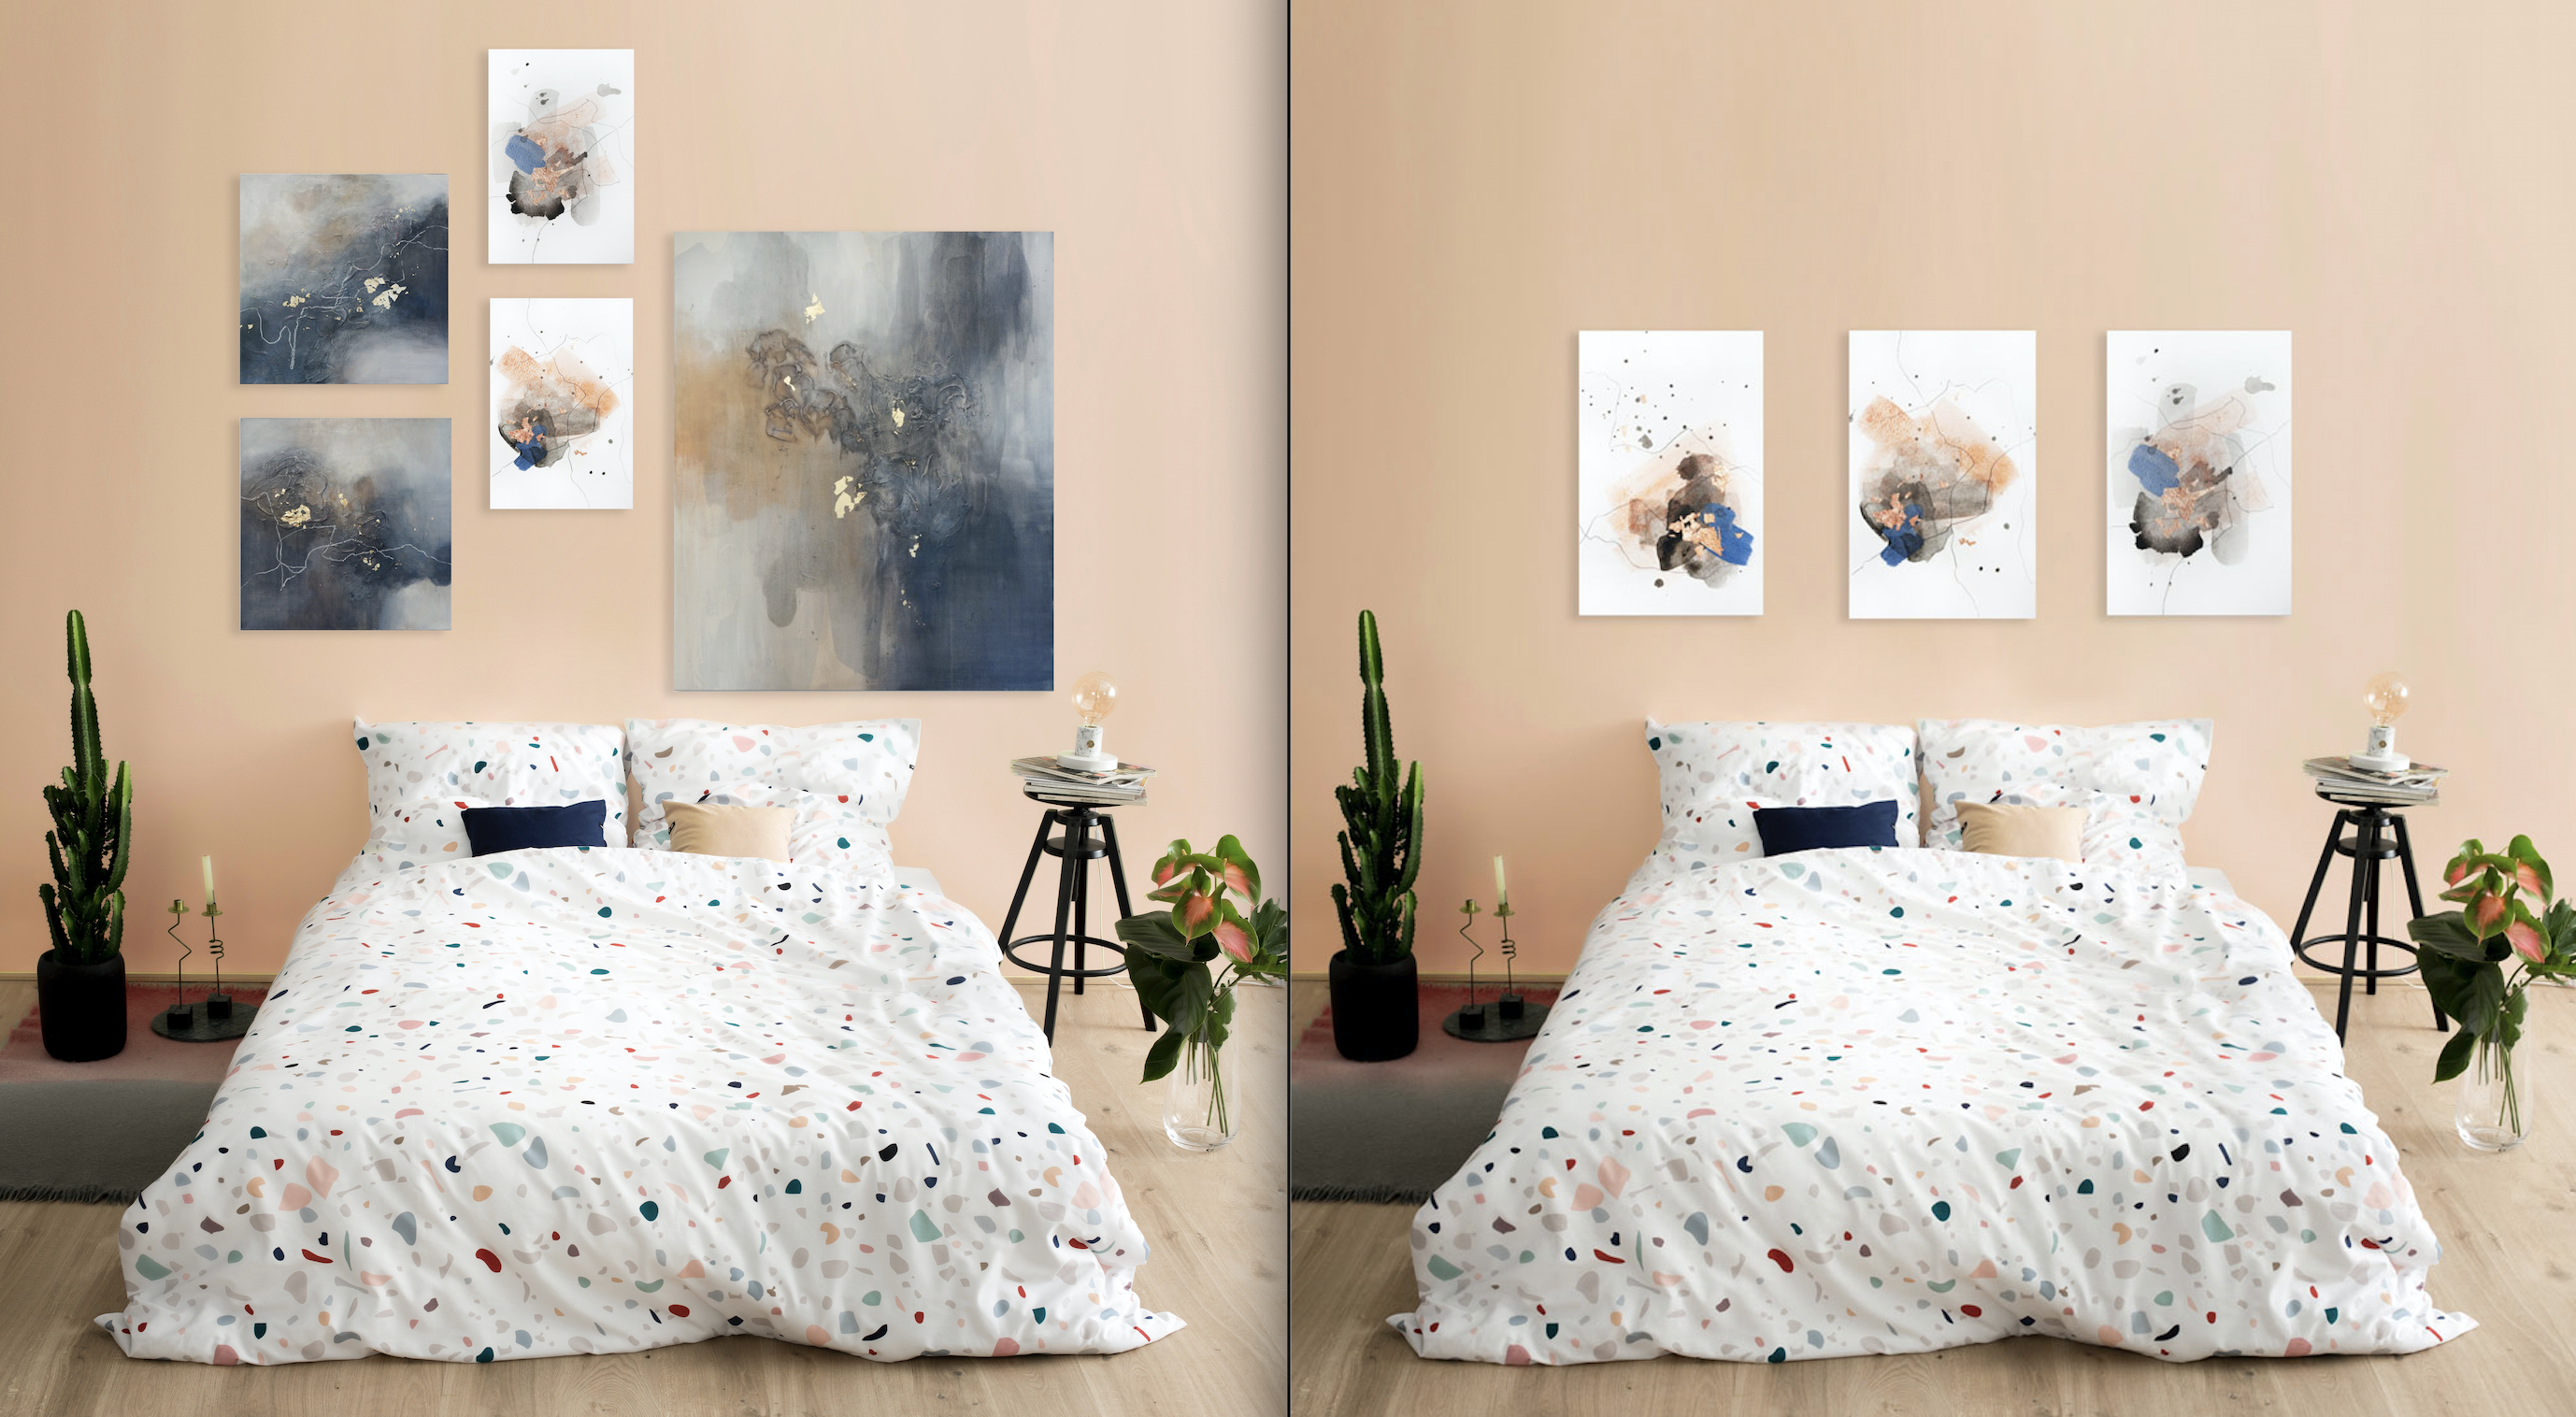
- Pick Your Number
When figuring out how many pieces to buy for your gallery wall, a good rule of thumb is to pick an uneven number. People tend to notice, pay more attention, and appreciate odd numbered visual pairings. When in doubt, go with an odd number of paintings. They can all be the same size, or different sizes, but picking an odd number will make your space feel more balanced, less rigid, and like nothing is missing. - Map It Out
You’ve made all of the decisions about symmetric or asymmetric, you’ve even picked out how many pieces you want now is a good time to visualize your space and pick the size of each individual work of art. Here is what you’ll need. Grab a roll of brown craft paper, some painters tape, and get measuring. Cut out the dimensions of the pieces you wan’t and tape them up on the wall. You can try various symmetric or asymmetric patterns this way and you can get a sense for how much space each work of art is going to take up before you nail holes in your walls.
– grab your roll of craft paper here
– get some painters tape that won’t damage your plaster here - Pick Your Art
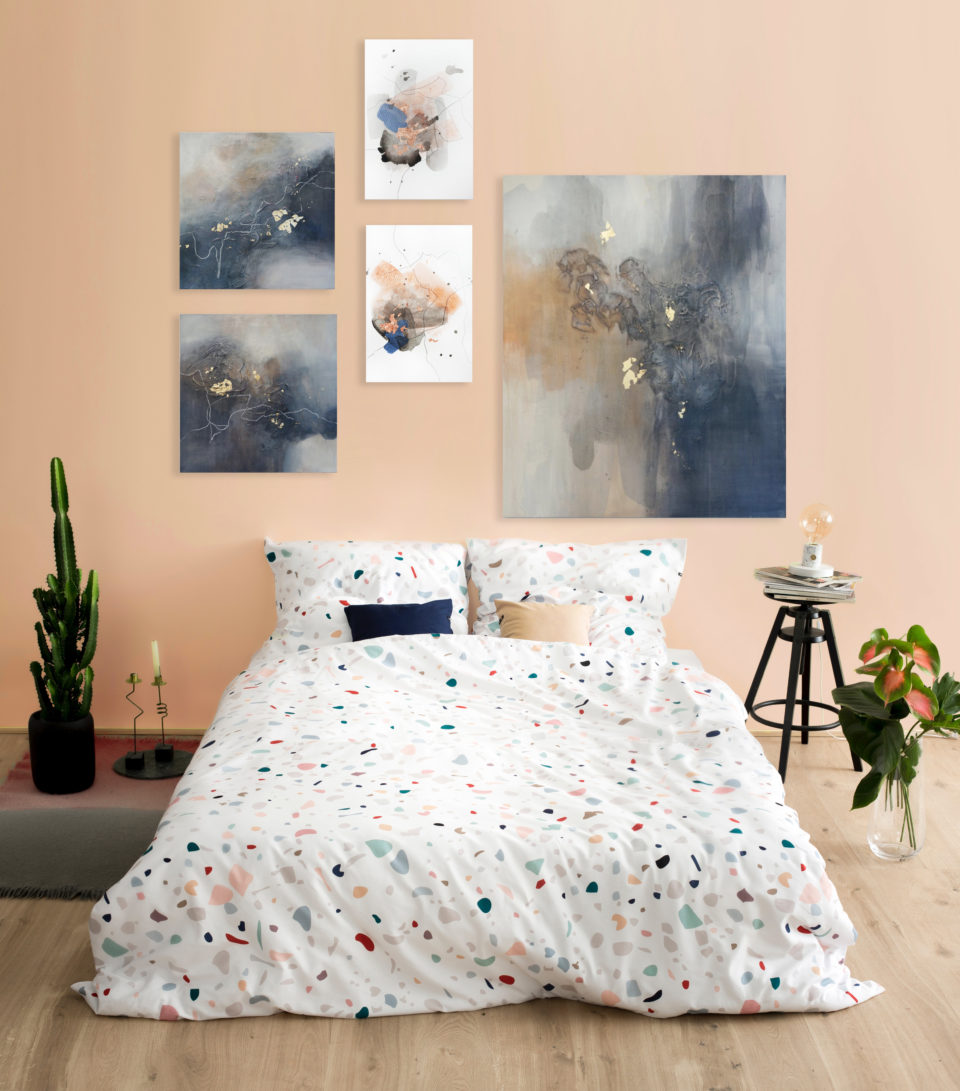
Maybe you’re doing a gallery wall of family photos, or a mix of heirloom pieces. Maybe you are just doing modern or abstract art, whatever the case, make sure you pick the way the artwork is presented. Will each piece be framed, in glass? Will you choose canvas prints? Picking a cohesive style will pull your gallery wall together. My suggestion is to pick a style and stick to it. Frame all of your works, or none of them. Here is a easy breezy previous post about picking the perfect frame for you art or photographs. Keeping things consistent in terms of choosing to frame or not, goes a long way in making your wall look thought out.
– browse framed prints
– browse canvas prints
– browse unframed prints
– browse mini art prints
Here are the links to the specific art prints you saw in this post:
1. Oh Susy Canvas Print
2. Yeah Canvas Print
3. High Tide Canvas Print
4. Divide #2 Canvas Print
5. Divide #6 Canvas Print
This post may contain affiliate links. I may receive commissions for purchases made through links in this post. As an Amazon Associate I earn from qualifying purchases.
Share, pin, and comment on this post if you found it helpful! Follow me on Instagram @christineolmstead Pinterest @christineolmstead Facebook @ceolmstead