

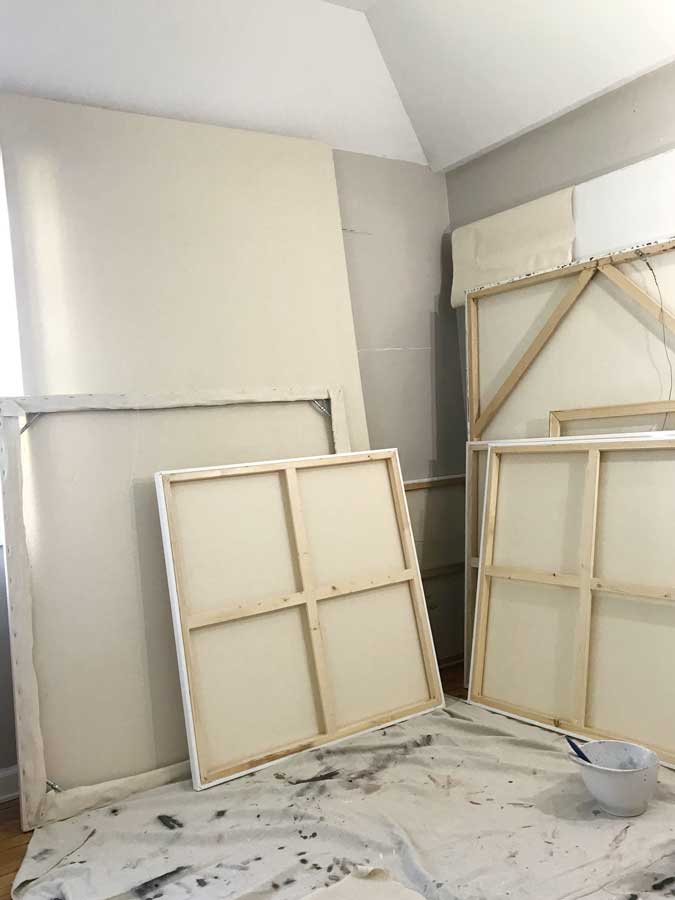
So you want to stretch your own art canvas? Maybe you want to learn this skill, work on a painting size not sold in stores, or maybe you want to use unconventional materials. Whatever your reason for wanting to learn how to stretch a canvas this article is the one to help you do it. Here is the list of supplies you will need.
Here’s What You’ll Need:
- A roll of canvas
- Stretcher bars at your desired dimensions
- A Staple Gun (Gun Batteries and Charging Station)
- Staples
- A right angle
- Canvas Pliers
- A Rubber Mallet
WHY, would you stretch your own canvas when you can buy stretched canvases at an art supply store?
The main reason is size. When I get into a really big size canvases most art supply stores do not sell the exact dimensions I need, or I’d have to order it online and pay an exorbitant amount in shipping for a pre-stretched piece. The main reason I like to stretch pieces is because of the manhandling. Stretching a big painting usually takes a few hours from the assembling the frame, to measuring and cutting the canvas, to actually stapling and drilling the thing together. The canvas and I have already gone through battle together before I’ve even started painting and I won. It helps me relax when I’m painting knowing that I’ve already conquered the canvas on some level. And even though after stretching I’m usually left with aching hands, a sore neck and back and blisters on my fingers. It’s worth it knowing that I showed that canvas boss, and I’m going to do it again when I paint it.
Don’t you have to be strong to stretch canvas?
I like to think so. I used to not be able to stretch my own canvas and always enlisted the help of my husband because I was afraid I would get too many wrinkles, or that I wouldn’t pull tight enough. All that is lies, I can stretch a piece on my own without assistance because yes, I am strong enough and you probably are too. It’s more about technique than strength.
What are the benefits of stretching vs. buying pre-stretched?
There are several benefits. I can order stretcher bars for ANY SIZE CANVAS and stretch it. The customization is unmatched. You can really do whatever size you want. You cannot order whatever size you want pre-stretched. Not every shape and size exists unless you stretch it yourself. Stretching your own canvas also means that you can pick the materials, primed or raw canvas, regular wooden bars or steel bars etc… The options and accessories are endless and you can’t get that with store bought. Another benefit of stretching your own canvas is you can prep the bars properly.
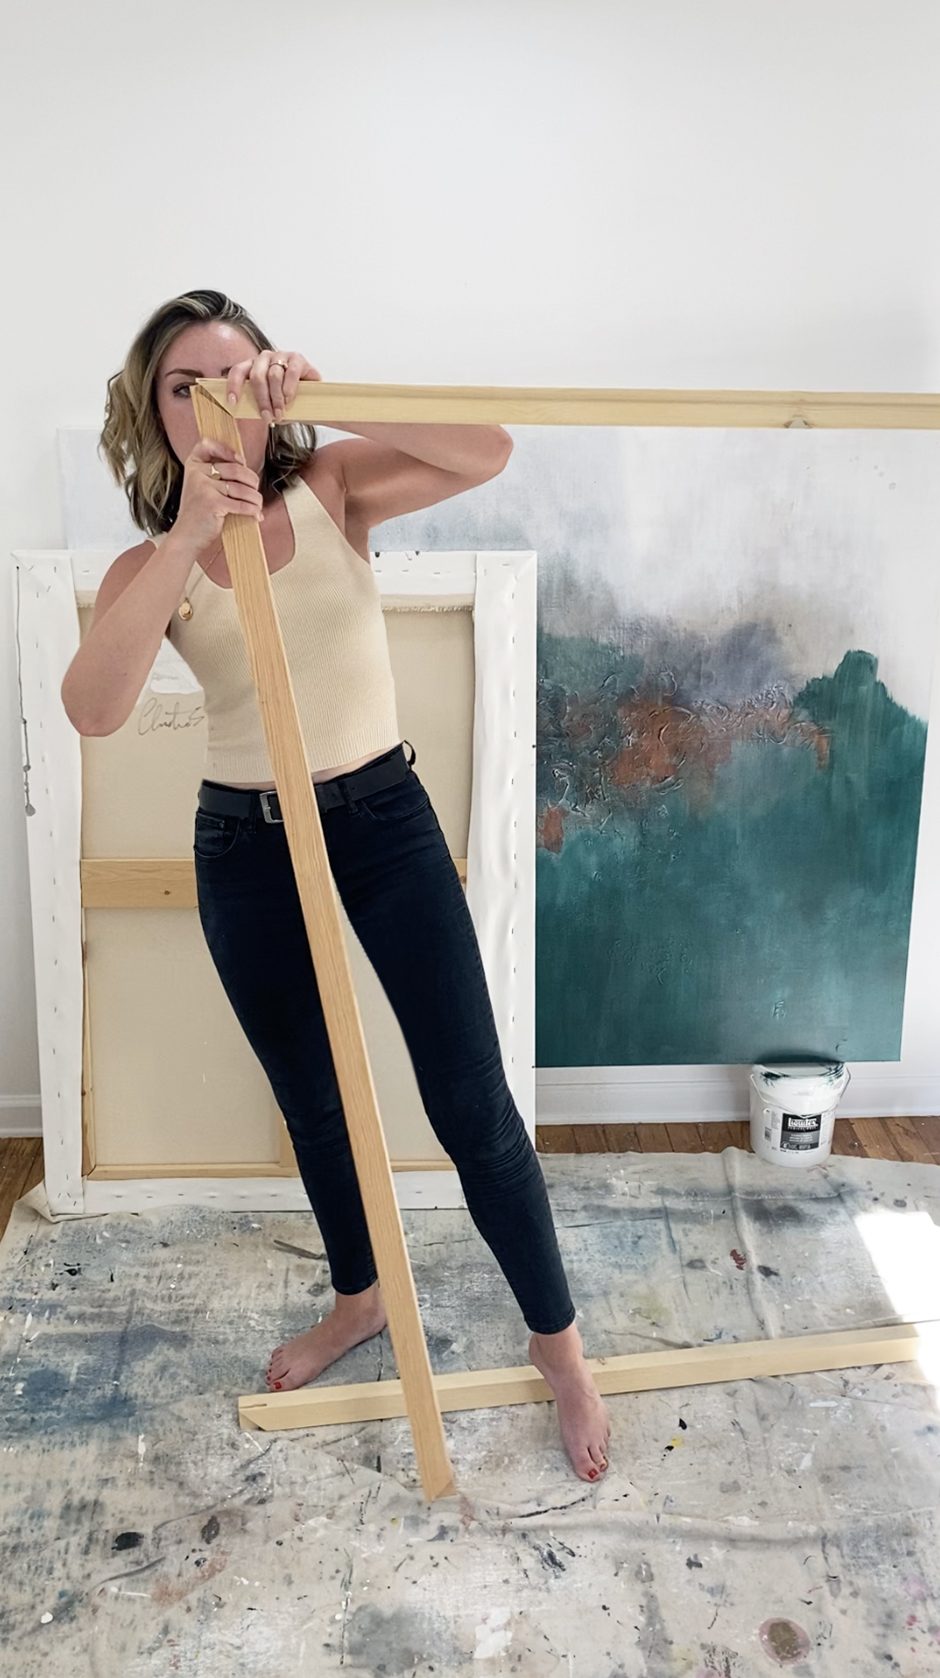
- Step one! Assemble your frame!
Stretcher bars are pretty easy to put together. Gently wiggle the corners together. Don’t push them or force them, you can break the wood and ruin your stretcher bar. Use your right angle to make sure that your piece is straight. Use a rubber mallet to tap the corners together tightly.
- Fit your cross bars into place
It depends on the kind of stretcher bars that you use, there are a lot of different kinds of attachment systems. If you’re using a system that allows you to tap the a wood wedge into a slot on the sides of the stretcher bar, don’t push them in all the way till after you’ve stretched your piece. This will help tighten the canvas a little more once you are done. At this point you should also screw your cross bars together.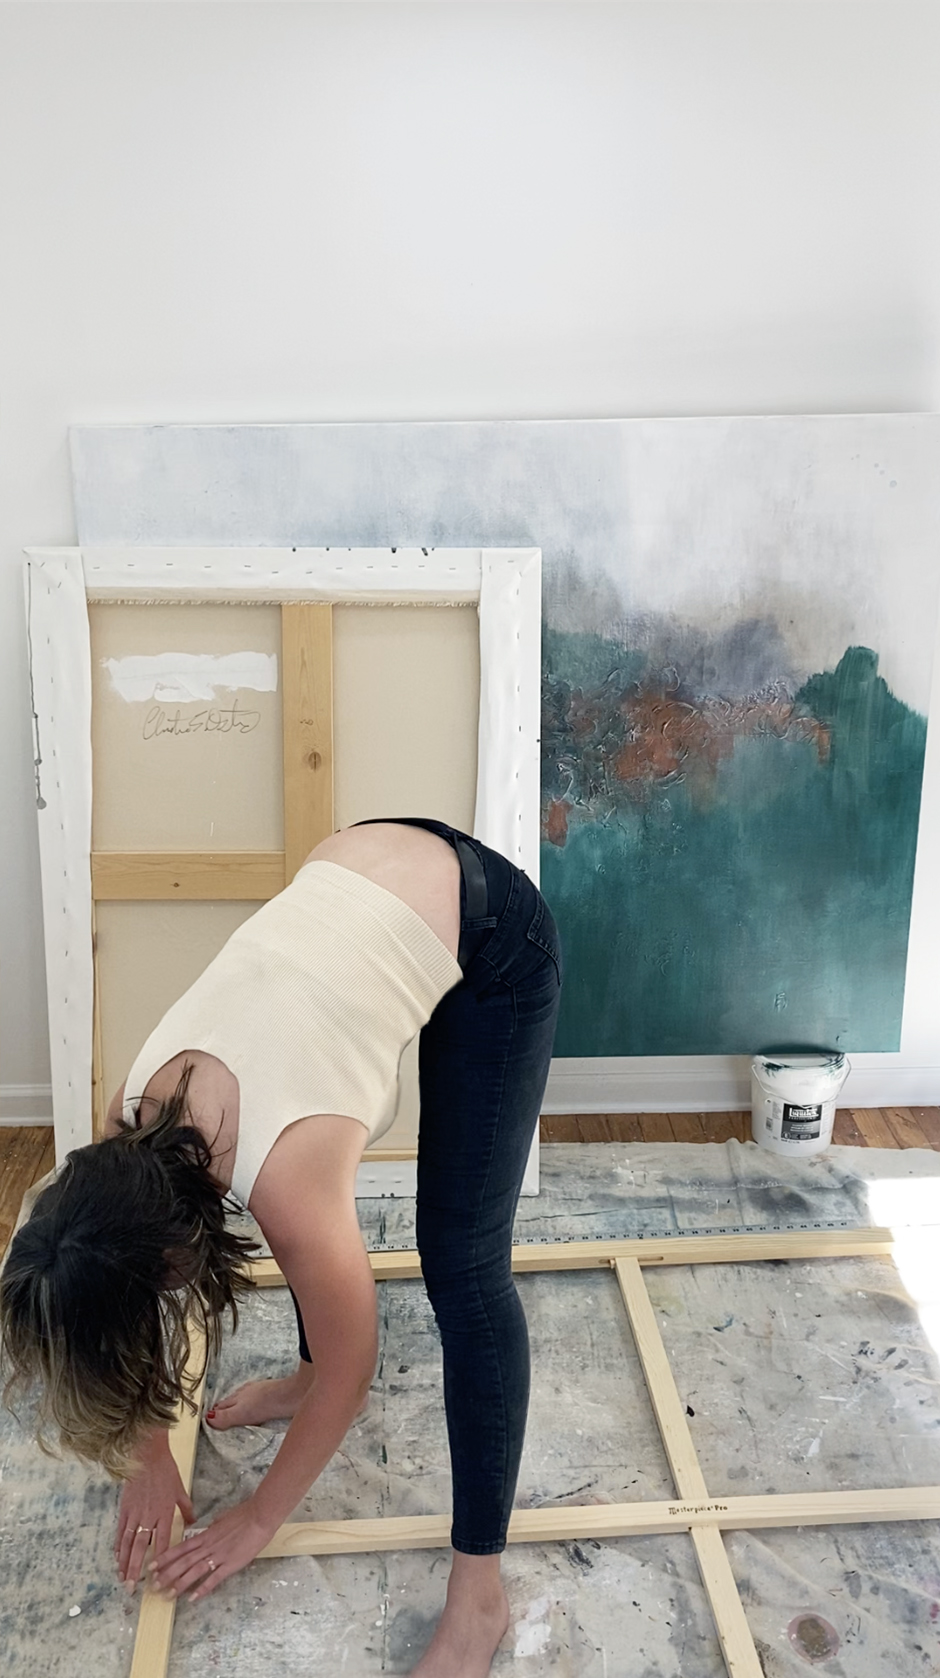
- Roll out and measure your canvas
Whether you’re using a raw or primed canvas roll that baby out with the side you want to paint on facing the ground. Lay your assembled stretcher bar frame on top with the bulging side down. The flat side of the stretcher bar should be facing up. You’ll want to measure 3-4 inches on all sides of your stretcher bar so have enough fabric to grasp and so that you can wrap the canvas around the wood bars. So, for example, if your painting is 14″x14″ you should cut your canvas to 18″x18″.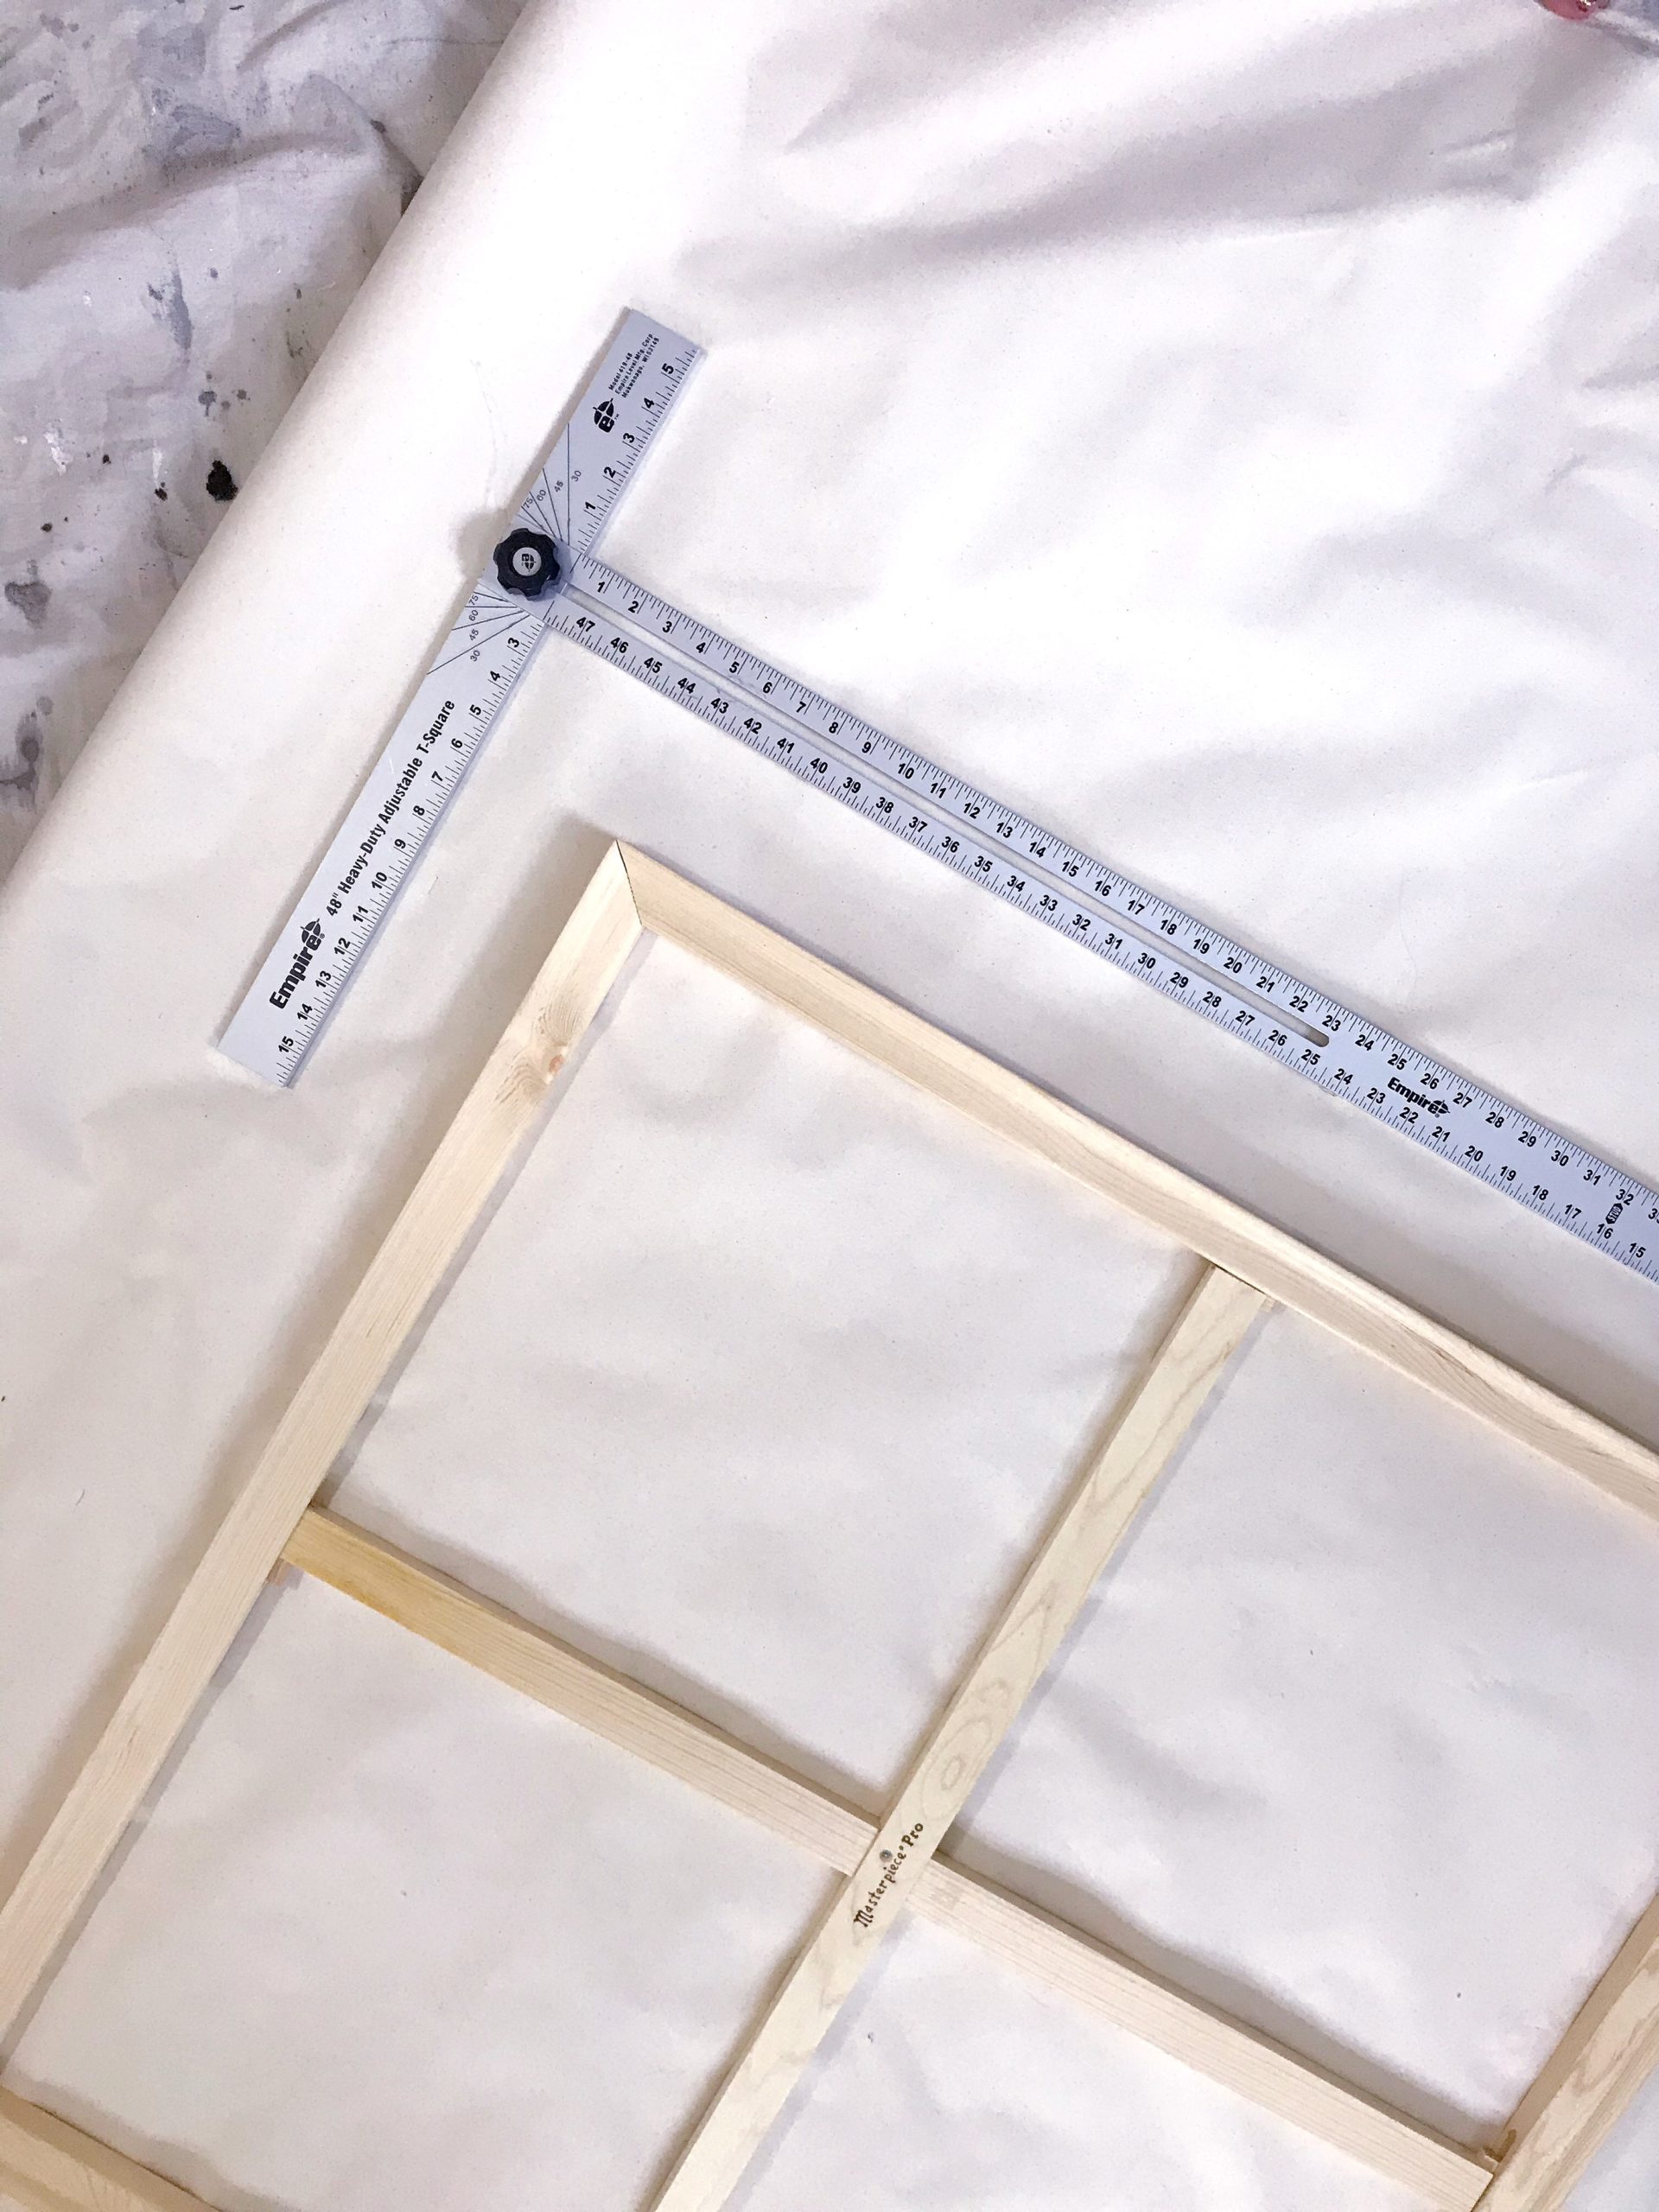
- Staple the canvas to the bars
I use a battery powered staple gun to help save my hands from carpal tunnel. There is a technique when doing this to ensure your canvas is wrinkle free and super tight to paint on. Start at the center of each side and work your way out. Do one staple on each side. Then two halfway between the center and the sides one on either side of your first staple. You want to stretch each side opposite the side you just stretched. So for example I would staple: top, bottom, left, right, repeating that pattern around all four sides of the canvas. This ensures that you are pulling evenly around the piece. You’ll want to use your canvas pliers to ensure that you’re pulling it tight.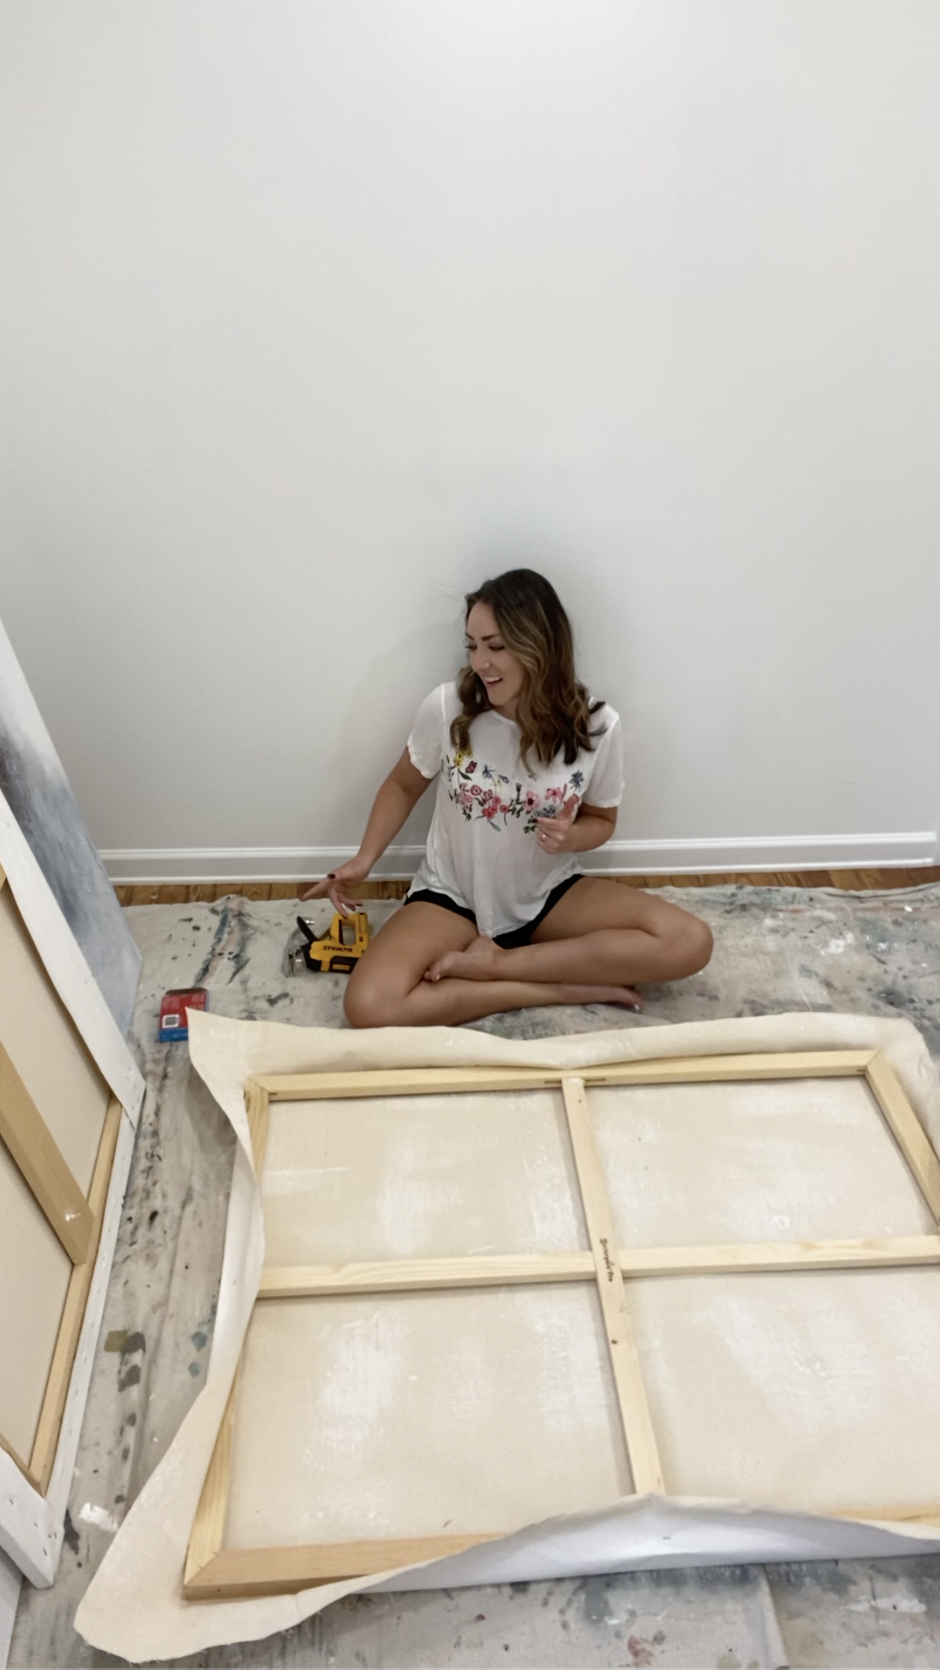
- Corners are last
First, you should determine what the orientation of the piece is. Because you want to make sure that when you wrap your corners they are on wrapped on the same corresponding sides. I tend to have the corner crease on my sides instead of the top and the bottom. I just like the way it looks better. So when wrapping your corner fold the crease on the side you want it to show on.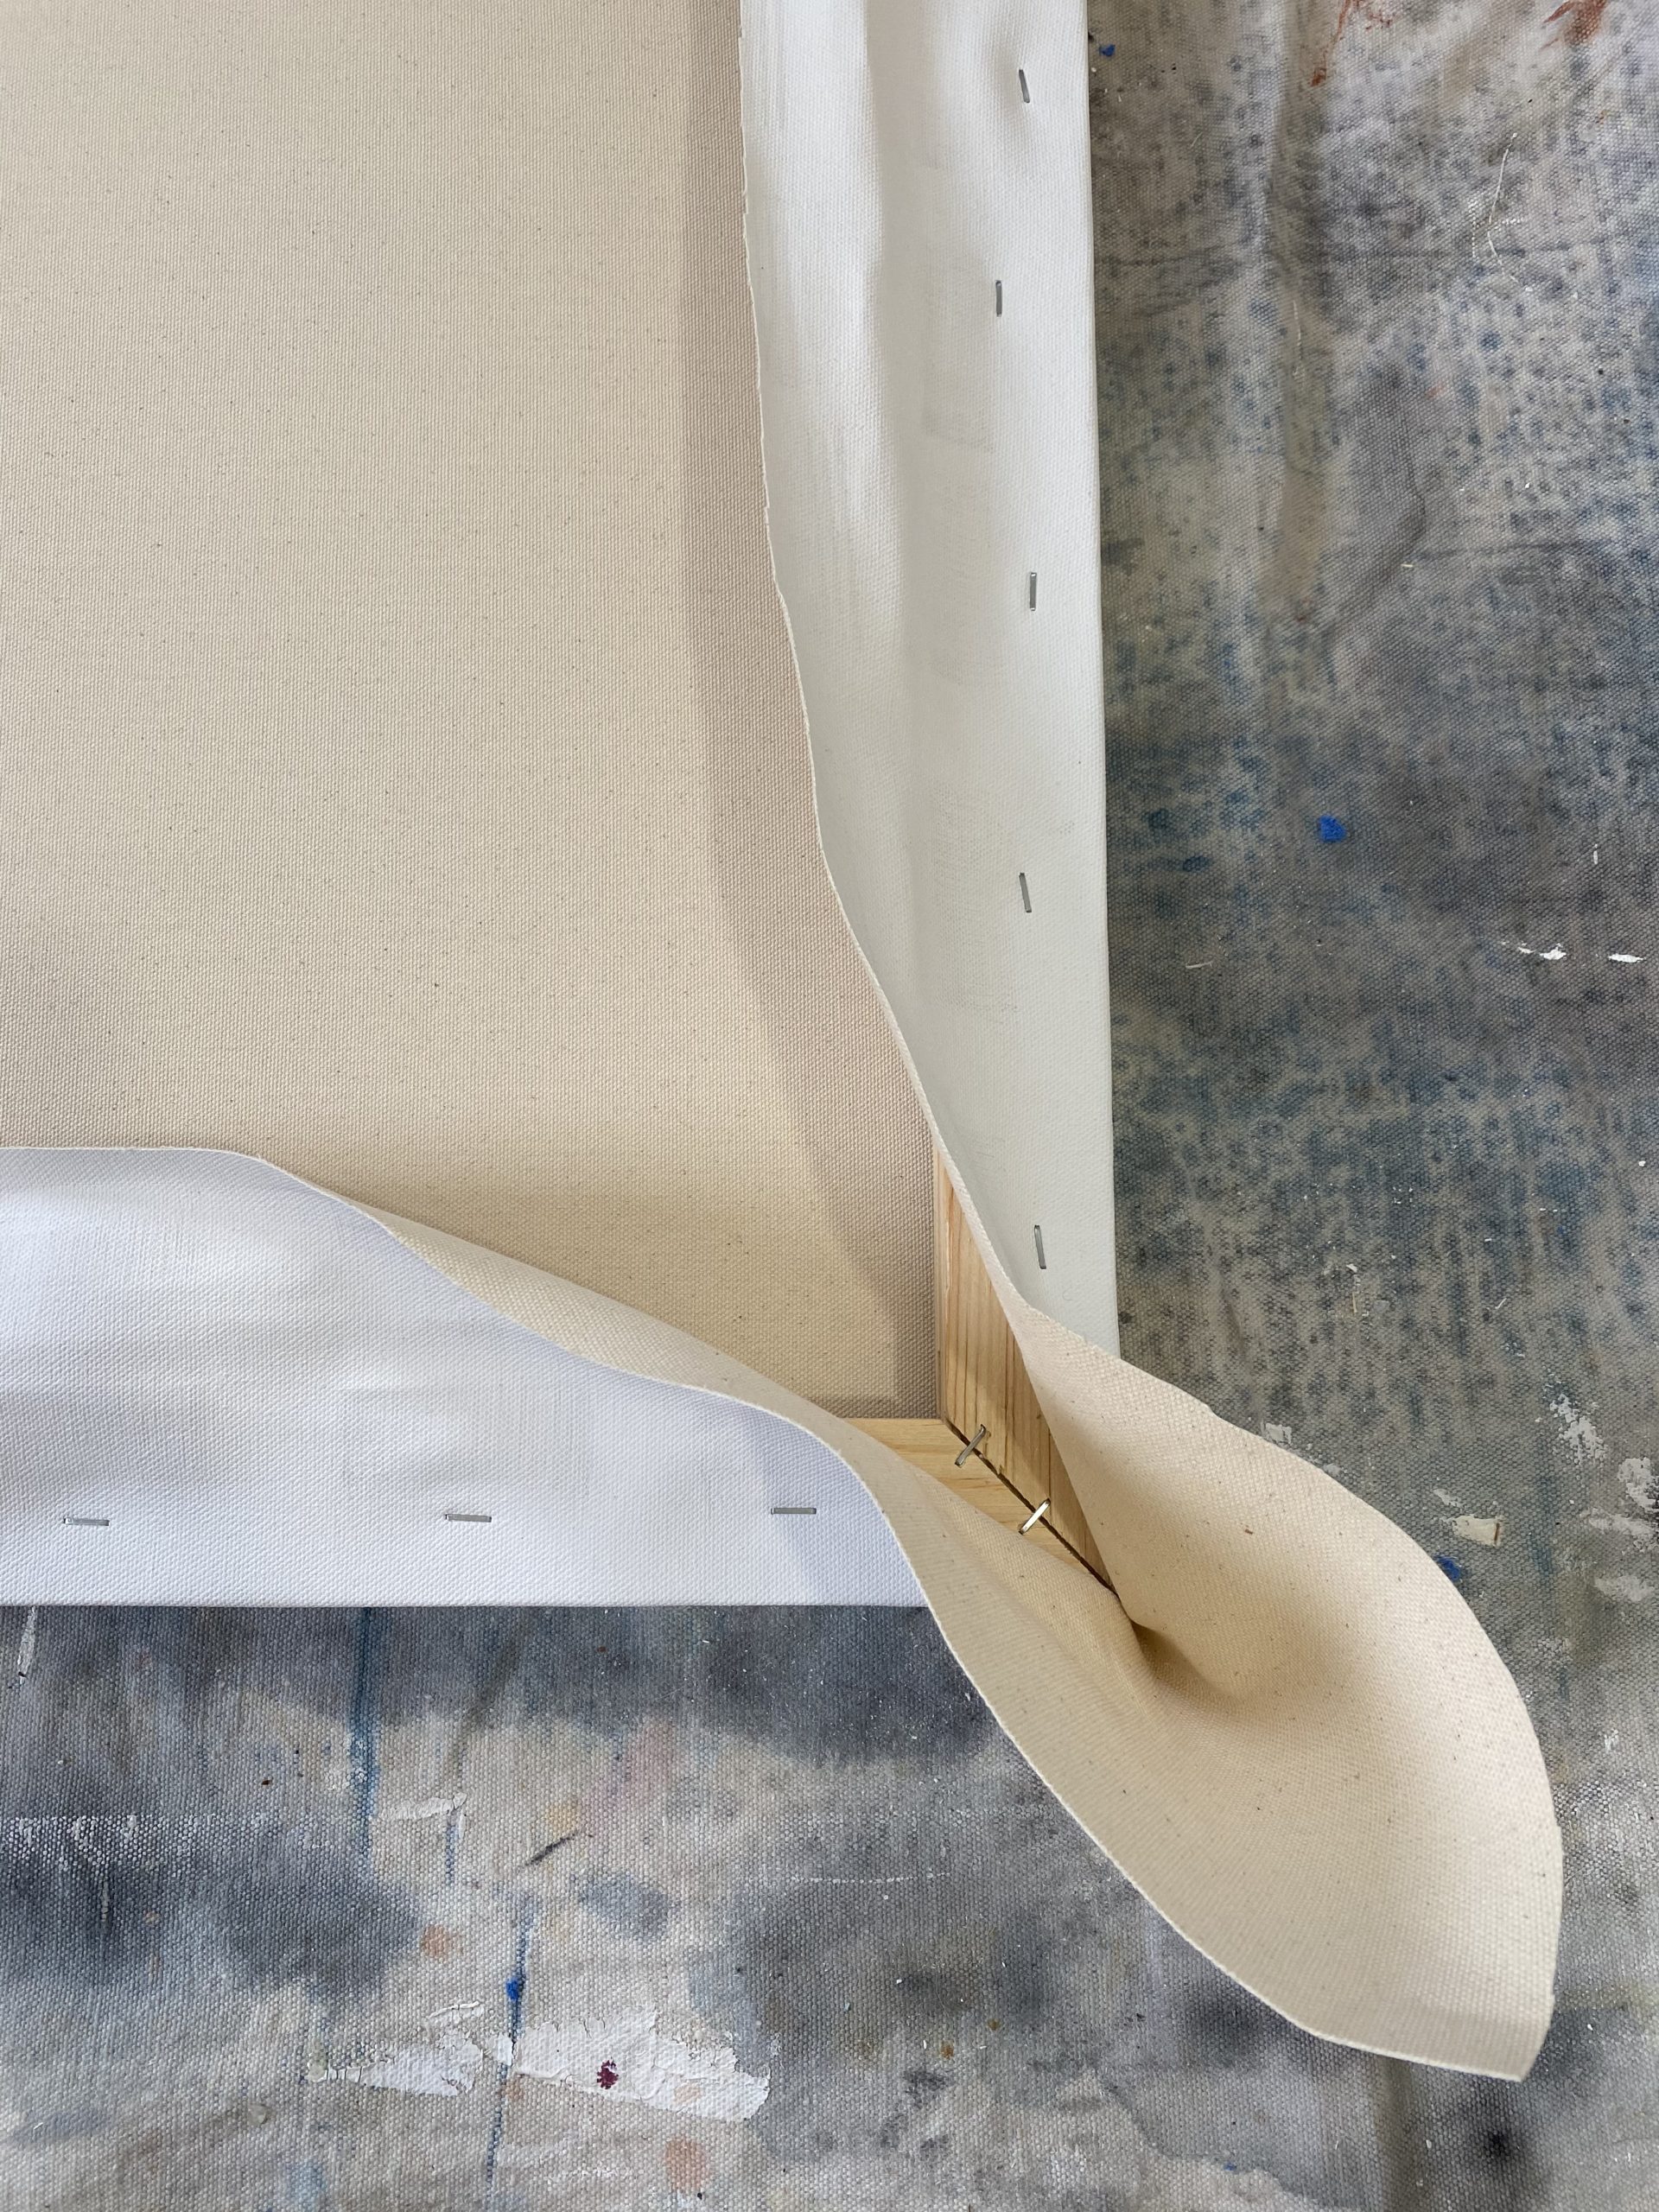
And that’s it! Do you feel like now you know how to stretch a canvas? Your first few times stretching you may have ripples or loose corners, but that just means you can practice. The first couple of times can be frustrating, but don’t let it get you down. There is something so rewarding about stretching your own canvas. For me, it means I’ve already had success with the painting before I’ve even begun painting. The painting and I have already wresseled and I’ve already won. So… should the painting and I come to any disagreements during the course of my painting it, I know I’ll win, because I’ve already won and bent it to my will. Where do I get my materials? To get my materials list check out this resources post! Feel free to ask any stretching questions and I’ll try to answer as soon as I can! Happy stretching friends, enjoy the process.
This post may contain affiliate links. I may receive commissions for purchases made through links in this post. As an Amazon Associate I earn from qualifying purchases.
Follow me on Instagram @christineolmstead Pinterest @christineolmstead Facebook @ceolmstead
Comments
So helpful!! Thanks Christine!
Thank you Taira! I’m glad it was helpful for you! Happy stretching!
Pingback: Weekend Hot List... 7.24.20 | Lauren Heller Art Consultant
SO helpful!!! Thank you!!!!
Hi, this is so helpful, thank you!! Do you ever paint on unstretched canvas and THEN stretch it after the painting is done? I did that with some of my large scale pieces but there are a lot of ripples. I did the acrylic, water, and oil pastel painting on raw, unstetched canvas that I tacked to the wall and then tried to stretch it when I finished painting but when I went to stretch it, it was so hard to get all of the ripples out. Any advice?
I was also wondering when do you decide to gesso the canvas vs paint on raw canvas? Do you do both?
Thank you for this!
What type of primer is best for a raw canvas – and, it’s best to prime AFTER the stretching, correct?
Yes, correct always prime after stretching!